
As an Amazon Associate, this website earns from qualifying purchases.
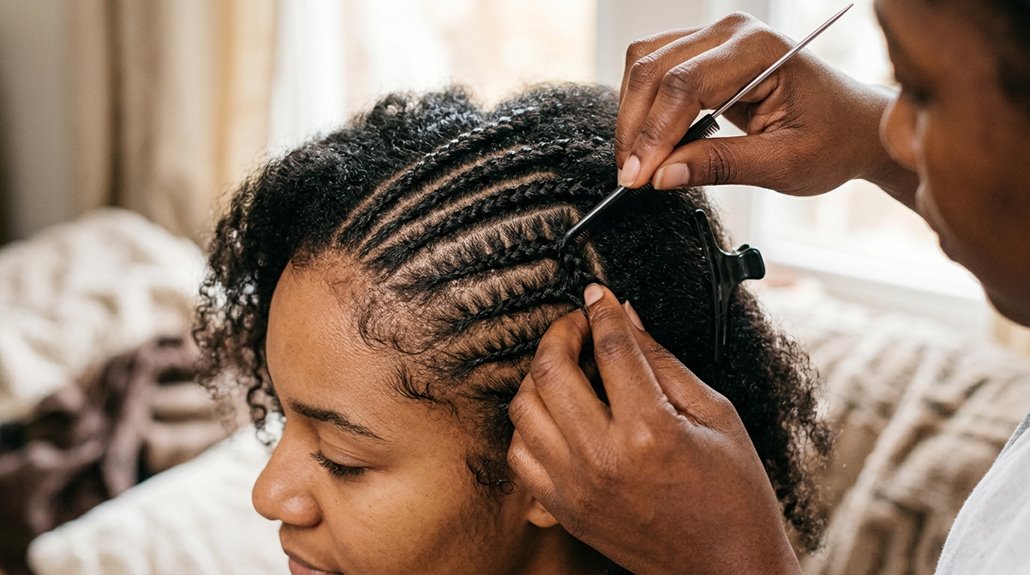
To cornrow natural hair without extensions, start by evenly sectioning and parting the hair for neatness. Use your right hand to control two sections while the left guides the remaining one, maintaining steady tension. As you braid, add small amounts of hair from the middle section, crossing it over to the left smoothly. Finish with sealing and fixing tips to keep everything tidy. For more helpful tricks, follow along and master each step carefully.
Understanding the Basics of Cornrowing Natural Hair Without Extensions
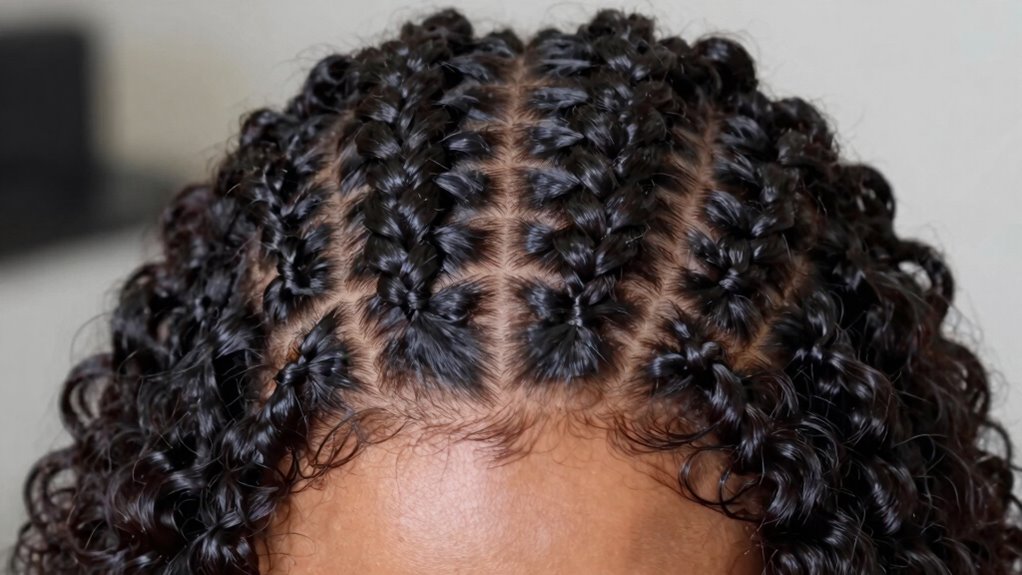
Have you ever wondered how to start cornrowing natural hair without relying on extensions? The key begins with proper sectioning. This means carefully dividing the hair into three even parts, which makes the entire process smoother and more precise. When working with natural hair, it’s essential to keep each section manageable and balanced.
The right hand typically controls two sections, using the ring, middle, and pointer fingers, while the left hand holds the remaining piece loosely between the middle and ring fingers to keep tension. As you build the braid, move the middle section over to the left, adding small amounts of hair from the left piece. Maintaining consistent tension and following a rhythm ensures the cornrows stay neat, with each step flowing naturally into the next.
Preparing Your Hair and Tools for Cornrow Styling
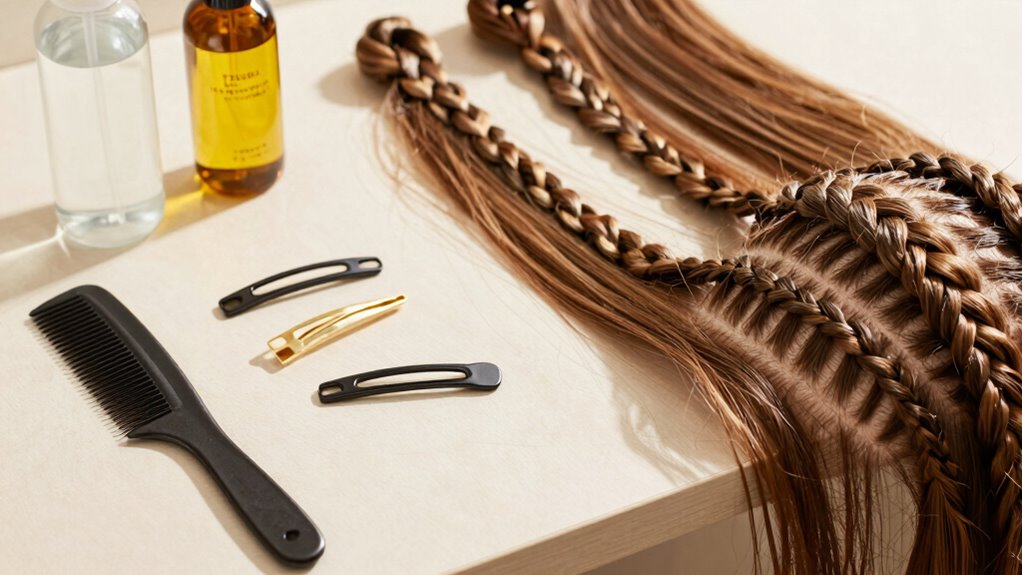
Preparing the hair and gathering the right tools are essential first steps before diving into cornrow styling. Proper cornrows preparation involves clean, detangled hair to make sectioning easier and braids neater.
Hair sectioning is crucial; starting with a clear parting helps keep the cornrows organized and even. When sectioning, it’s helpful to divide the hair into three parts: two on the sides and one in the middle, so each braid maintains consistent thickness.
Braid tension is also important. Holding the strands firmly but gently ensures tight, neat cornrows without causing discomfort. As you work, control the outer sections with your right hand while keeping the middle section loose with your left, adding hair only from the middle. This careful setup sets the stage for smooth, beautiful cornrows.
Step-by-Step Guide to Sectioning and Parting Your Hair
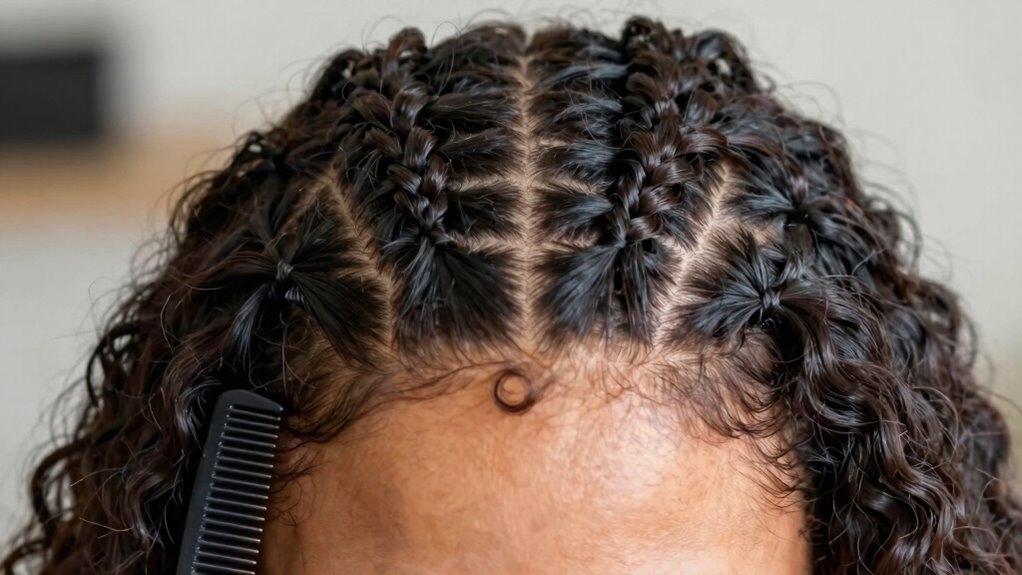
Wondering how to start sectioning your hair for neat, even cornrows? The key lies in careful parting and sectioning. First, choose the section of hair you want to braid, then create clean, straight parts using a comb or your fingers. This helps keep your cornrows uniform and tidy.
When sectioning, take three evenly sized pieces to form the base of each braid. As you work, hold the right section between your ring, middle, and pointer fingers, while the left piece rests loosely between your middle and ring fingers. Maintain a steady rhythm, moving your palms in the direction of the braid and adding hair only from the middle section. Proper sectioning and parting set the foundation for smooth, beautiful cornrows.
Proper Hand Positioning and Grip Techniques for Cornrowing
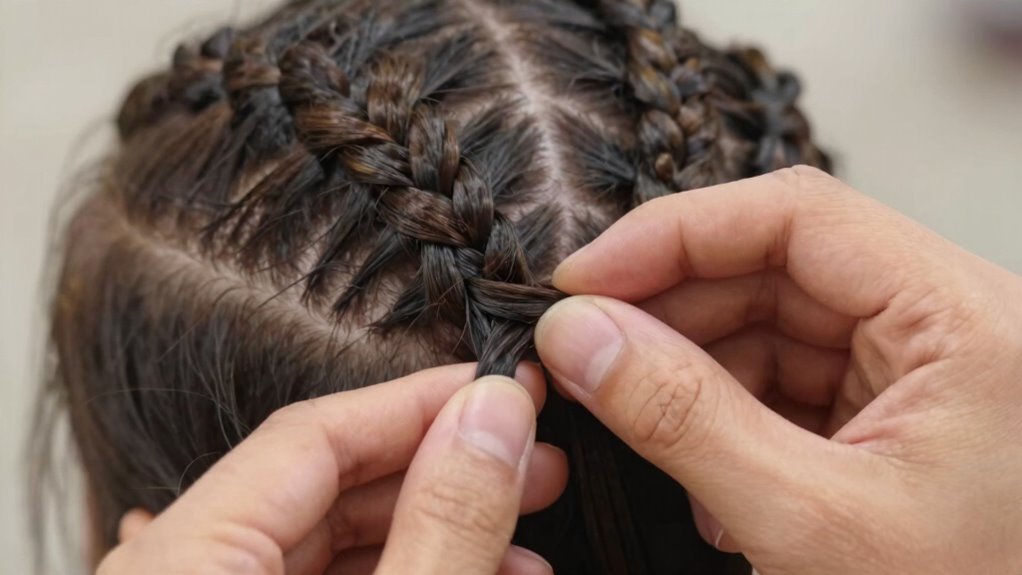
Ever wonder how to hold your hands just right when starting a cornrow? Proper hand positioning and grip techniques are key for smooth, neat braids. Typically, the right hand controls the two sections between the ring, middle, and pointer fingers, while the left hand holds the remaining piece loosely between the middle and ring fingers to maintain tension.
After setting aside the right section, the left hand grabs the left piece with the thumb and pointer finger, keeping the middle piece free for easy hair pickup. Throughout the process, maintaining a consistent grip helps you add new hair from the middle section seamlessly.
As you braid, move the middle piece over toward the left, using the left-facing pointer finger. Keeping the left piece taut ensures even tension and smooth cornrows.
How to Start Your Cornrow and Maintain Consistent Tension
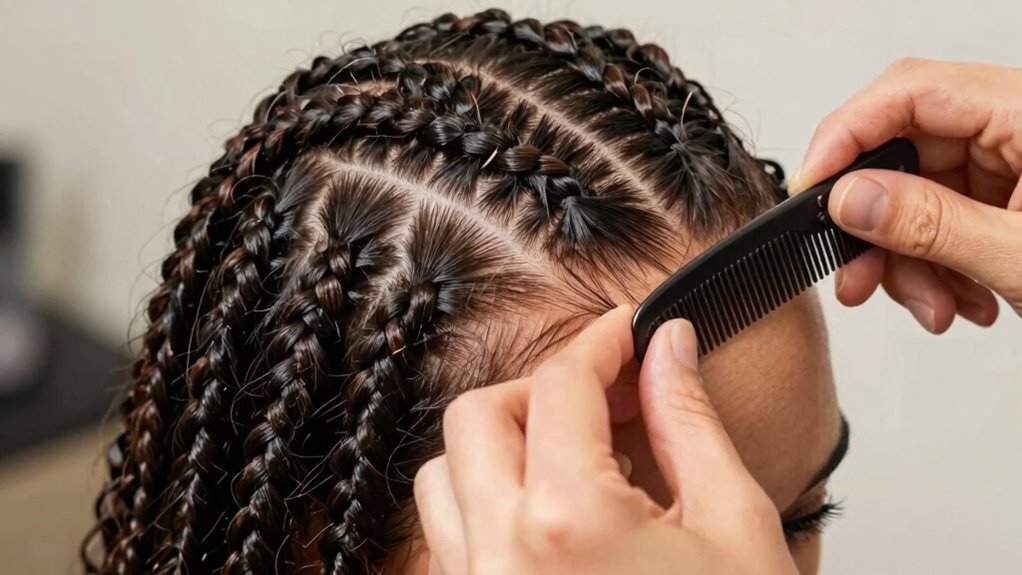
How do you guarantee your cornrow starts off smoothly and stays even from the very first stitch? It begins with proper hair sectioning, dividing the hair into three parts, with the middle section as the main source of added hair. Maintaining consistent tension is key, so the right hand grips the two right sections while the left hand keeps the loose piece taut. As you braid, keep your palms moving in the braid’s direction, pulling only from the middle section to keep a steady rhythm.
To ensure a neat braid pattern and even tension, focus on hair sectioning, creating clear, manageable parts. Use controlled, steady hand movements for consistent cornrow tension. Pick up small amounts of hair from the middle, gradually adding as you cross sections.
Adding and Crossing Sections to Build a Neat Cornrow
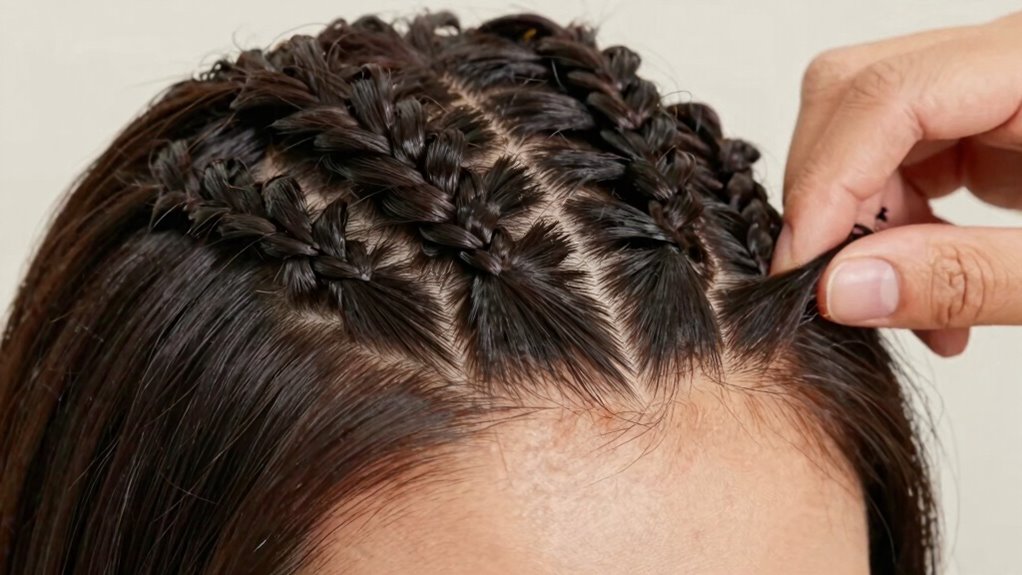
Building a neat cornrow starts with adding small sections of hair as you braid, which helps keep the pattern smooth and consistent. Proper sectioning is key; it involves dividing the hair into even parts, usually three pieces, to create a clean braid technique.
As you braid, only add hair from the middle section, ensuring the crossing sections stay tight and neat. To do this, grip the outer section with your fingers and move it over the middle, then pick up a small amount of hair with your pointer finger from the middle section. Continue this pattern, crossing sections and incorporating new hair gradually.
This careful sectioning and crossing build the structure of the cornrows, making them look tidy and professional. Patience and steady hands make all the difference.
Finishing Your Cornrow With Trimming and Sealing Tips
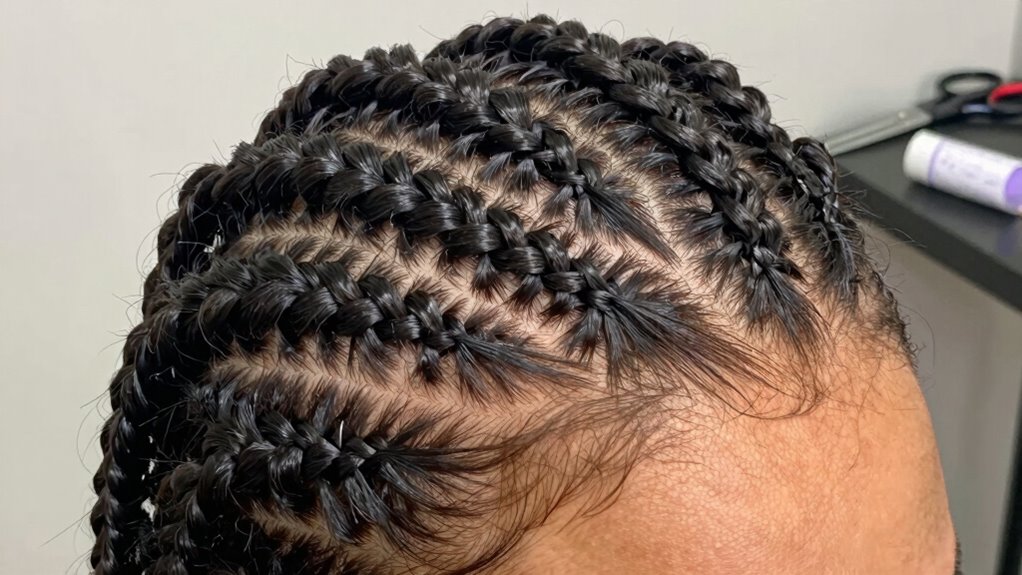
When it comes to finishing off a beautiful set of cornrows, small details can make all the difference in achieving a polished look. Trimming the cornrow ends is essential for a natural appearance, so carefully trim the tips to remove excess bulk and fly-aways, creating a cleaner finish. Seal braid ends by dipping them in hot water, which secures the plaits and prevents unraveling. For an extra touch, tying the hair down for 15–20 minutes after sealing helps set the style perfectly.
Effective finishing touches for cornrows include:
- Cornrow ends trimming to ensure smooth, even ends
- Seal braid ends with hot water for durability
- Maintain uniform thickness and seamless transitions
These small steps result in a neater, more professional-looking style that lasts longer.
Troubleshooting Common Cornrow Challenges and Solutions
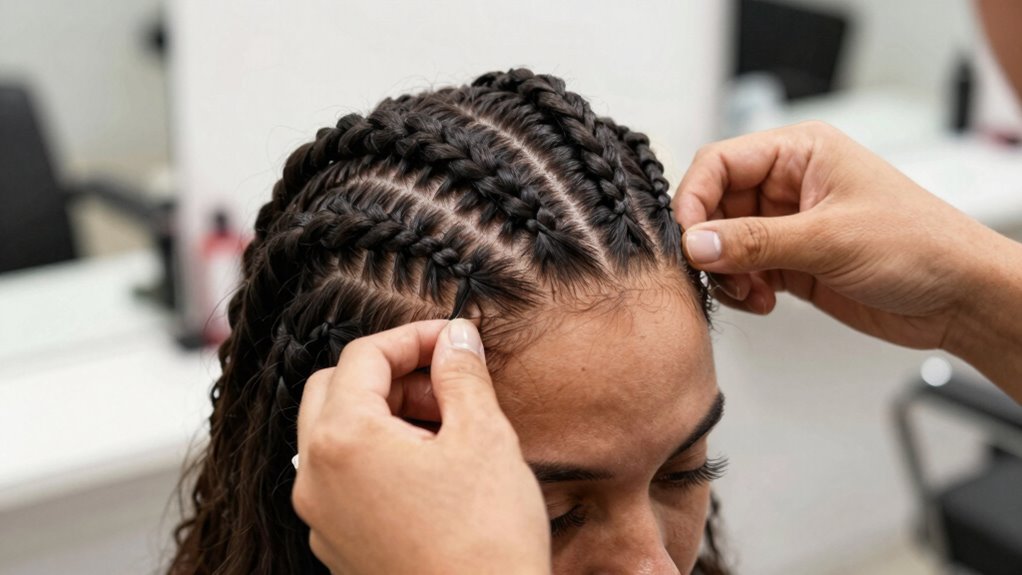
Have you ever found yourself halfway through a braid and suddenly the row starts loosening or slipping? This common issue often results from inconsistent tension control or improper braid technique. To fix this, gently re-grip the middle piece, maintaining a steady tension while re-establishing the pattern before adding more hair. Remember, pulling from the side sections can cause unevenness; always add hair from the middle. Using a damp, lightly gelled base helps smooth out the braid and reduces frizz, especially near the scalp, protecting it during the process.
| Key Challenge | Solution |
|---|---|
| Loosening | Re-grip middle hair, slow down, check tension control. |
| Slipping | Keep consistent tension, avoid side pulling. |
| Uneven Crown | Basket-weave small sections from the middle regularly. |
| Frizz & Root Friction | Use a lightly gelled, damp base to smooth hair. |
Tips for Maintaining and Protecting Your Cornrows Over Time
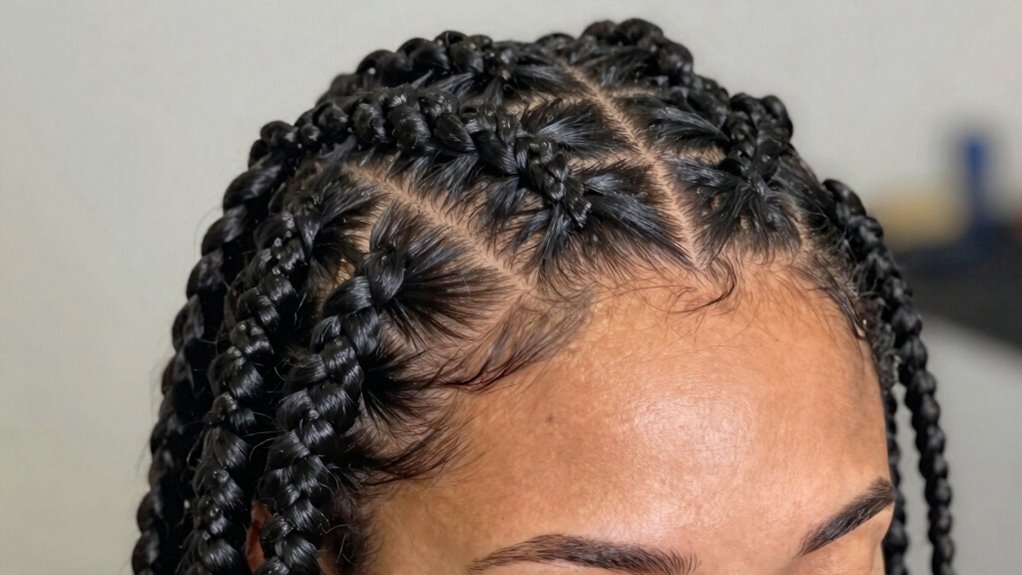
Ever wonder how to keep your cornrows looking fresh and neat for days or even weeks? Proper cornrows maintenance involves more than just styling; it’s about caring for your scalp and hair. To protect your style, keep your scalp moisturized with a light oil or leave-in conditioner to prevent dryness and flaking. Avoid tight braiding to minimize scalp tension and reduce hair breakage.
Sleeping with a satin or silk scarf or using a satin pillowcase helps reduce friction and frizz, maintaining neatness. Some key tips include regularly refreshing edges and dampening braids every other day. Schedule maintenance every 2–4 weeks to tighten loose sections. Focus on protective styling that keeps your hair healthy and tidy over time.