
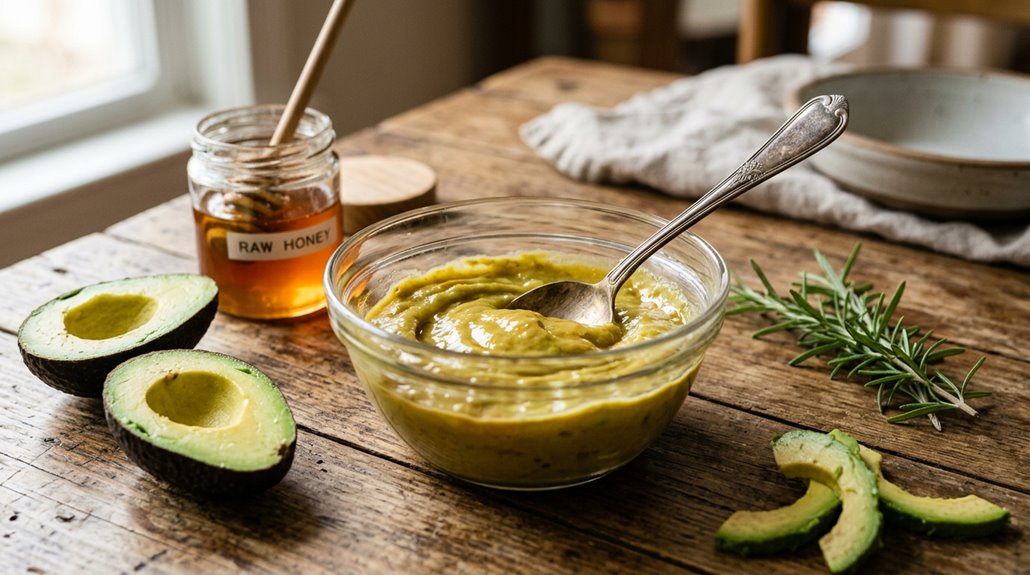
As an Amazon Associate, this website earns from qualifying purchases.
To create a DIY hair mask for shinier, healthier hair, start with simple natural ingredients like avocado, coconut oil, or eggs, which target specific hair needs. For example, blend ripe avocado with a spoon of coconut oil for softness or mix an egg with honey for shine. Apply the mixture to damp hair, covering from roots to ends, then cover with a shower cap for better absorption. If you want to discover more tips for perfecting your homemade treatments, keep going.
Understand Why Hair Masks Are Essential for Hair Health
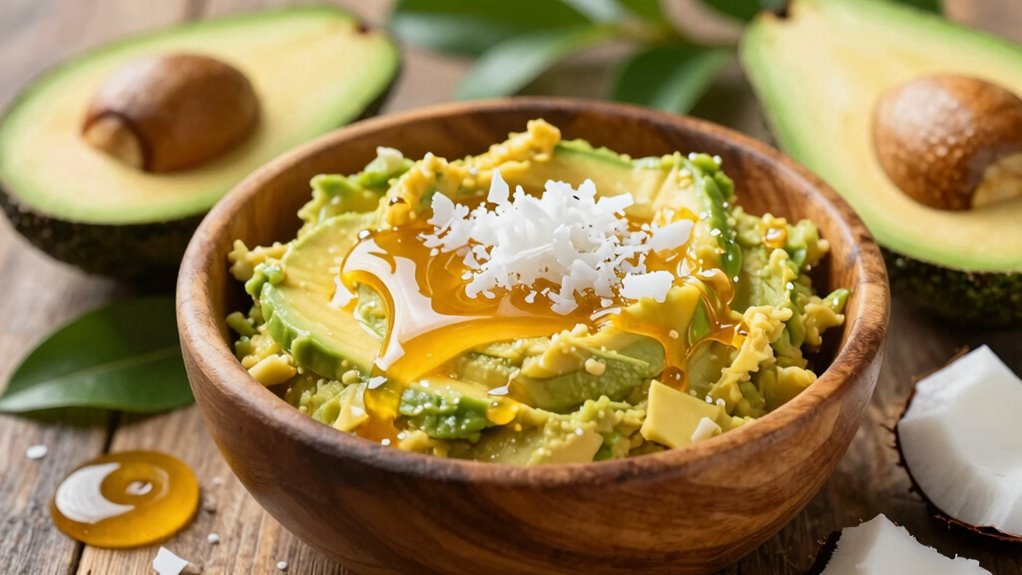
Have you ever wondered why hair masks are considered such an essential part of hair care? These treatments offer numerous hair mask benefits, acting as quick, effective conditioners that soften, hydrate, and add shine in just about 20 minutes. They support healthy hair growth, protect against damage, and even help fight scalp infections—all using natural ingredients you probably already have at home.
The goal of a hair mask is to nourish and moisturize hair deeply, making it look healthier and shinier. Applying them to damp hair and rinsing after about 20 to 30 minutes provides a simple, proactive way to boost scalp health and maintain beautiful hair. With consistent use, hair masks help keep hair resilient, vibrant, and full of life, all without costly salon visits.
Select the Right Natural Ingredients for Your DIY Hair Mask
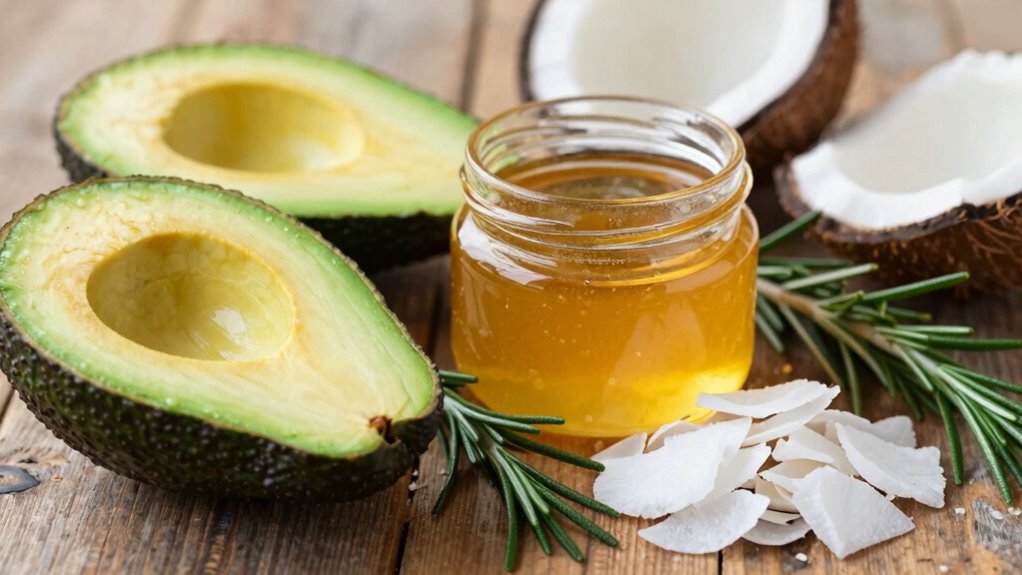
Choosing the right natural ingredients for a DIY hair mask depends on individual hair needs and goals. For dry or dehydrated hair, ingredients like avocado and coconut oil work wonders. Avocado is packed with vitamins C and E, which promote hair growth and add shine, while coconut oil delivers deep moisture and nourishment.
If hair is dull or oily, eggs can be a game-changer. Egg yolks provide fatty acids and proteins that boost shine, whereas egg whites help absorb excess oil. Combining these ingredients creates a powerful blend tailored to specific hair concerns. For example, mixing avocado and coconut oil can deeply hydrate, while adding egg can enhance shine and strength.
Selecting ingredients with your hair’s unique needs in mind ensures a nourishing, effective DIY mask.
Step-by-Step Guide to Preparing Your Favorite Hair Mask Recipe
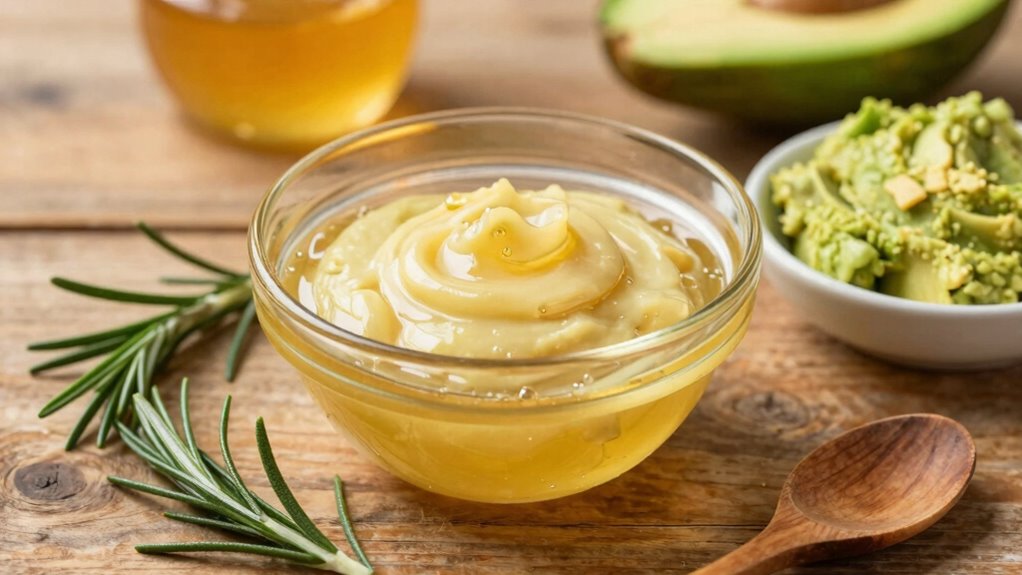
Ever wondered how to turn simple ingredients into a smooth, effective hair mask? A proper step-by-step guide makes creating a DIY hair mask straightforward and fun.
First, measure each ingredient carefully—using exact amounts like two tablespoons of honey or one egg—to ensure consistency. Mix ingredients thoroughly, either by blending or whisking, until the mixture is smooth.
It’s best to apply the homemade hair mask to damp hair, starting from roots and working down to ends, ensuring even coverage. Covering the hair with a shower cap traps heat, allowing better absorption. Processing times vary, but typically 15-30 minutes works well. Remember, warming oils slightly can boost scalp absorption.
Follow the recipe ratios precisely for the best results, making each batch unique and effective.
How to Apply Hair Masks for Maximum Effectiveness
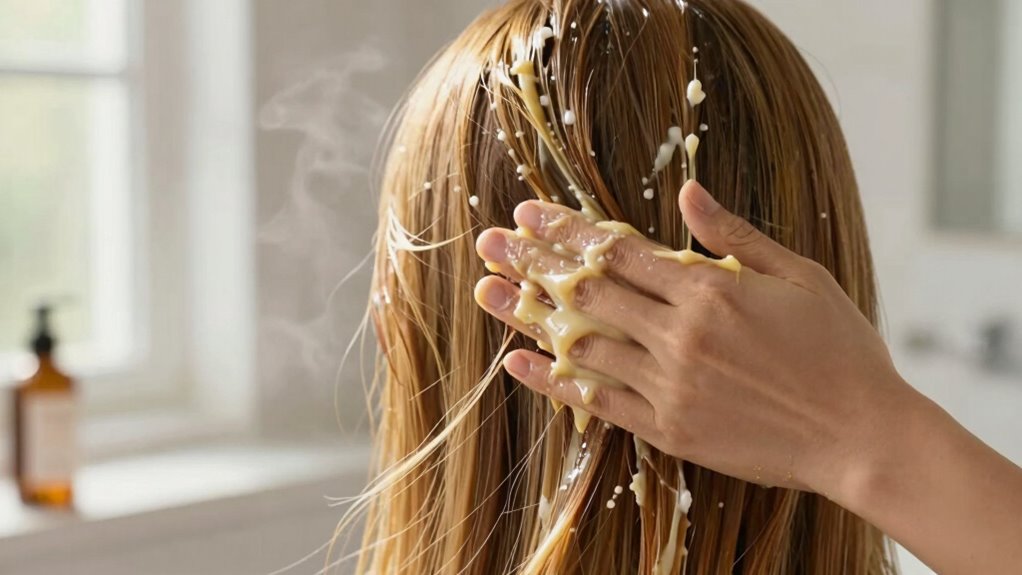
Applying a hair mask properly can make all the difference in achieving shiny, healthy hair. Understanding the best techniques ensures you get the most benefits from your treatment. When using DIY hair masks, start with damp hair, as this helps the mask absorb better. Use a wide-tooth comb to evenly distribute the product from roots to ends, ensuring every strand gets nourishment.
Cover your hair with a shower cap or wrap to trap heat, which enhances the mask’s penetration. Typically, leave the mask on for 15–30 minutes unless the recipe states otherwise. Warm oils slightly before applying for extra softness. Afterward, rinse thoroughly with lukewarm water, followed by shampoo and conditioner if needed.
Covering hair during treatment and limiting protein masks to once a week can boost results.
Tips for Enhancing Results With Proper Rinsing and Post-Treatment Care
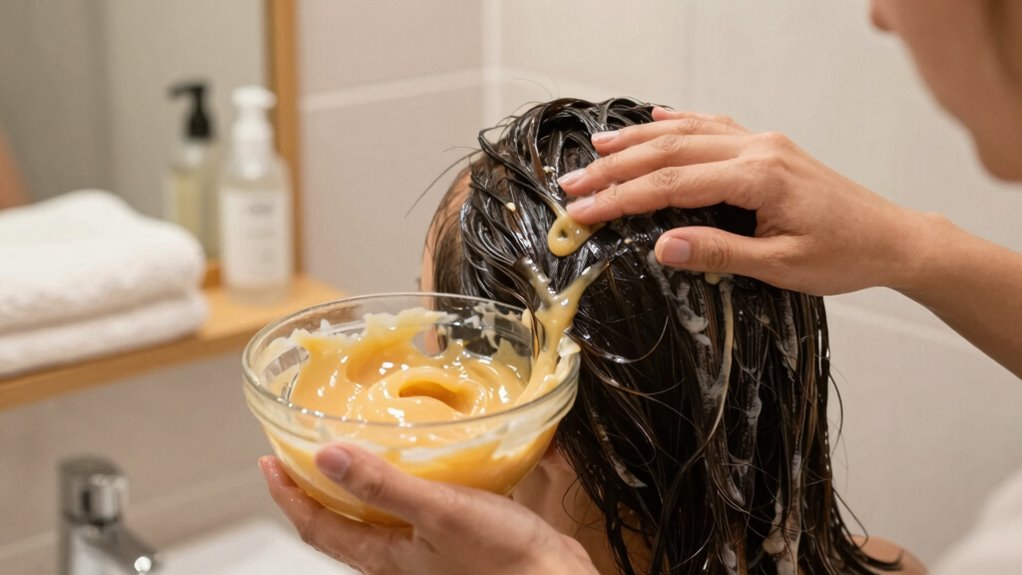
Have you ever wondered why sometimes a hair mask seems to leave your hair feeling heavy or dull? Proper rinsing and post-treatment care can make all the difference. Rinsing with cool or lukewarm water after masking helps close the hair cuticle, which boosts shine and prevents residue buildup that can weigh hair down. Lightly towel-drying your hair and covering it with a shower cap keeps warmth in, allowing the mask’s nourishing ingredients to fully absorb. Using a wide-tooth comb ensures even distribution from roots to ends and prevents tangles.
It’s also wise to schedule hair masks once or twice a week, adjusting based on your hair type and sensitivity. These simple steps help maximize benefits, leaving hair shinier, softer, and healthier.
Troubleshooting Common Hair Mask Challenges and How to Fix Them
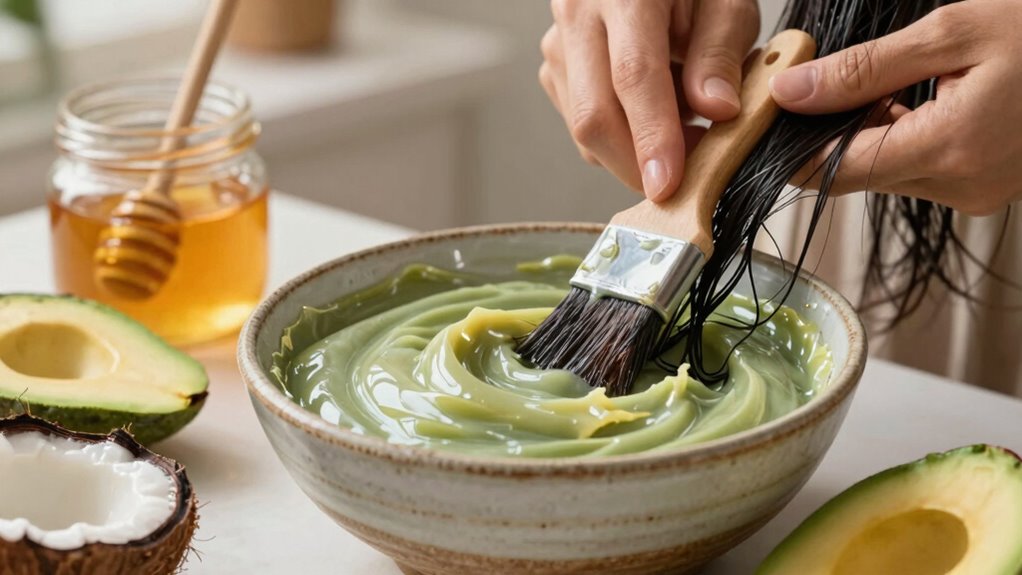
Despite following all the right steps, some people find their hair mask results aren’t quite what they expected. Common issues include buildup, heaviness, or residue, which can make hair feel greasy or scalp irritated if not rinsed thoroughly. Overusing masks or applying protein-heavy formulas too often can cause hair to become stiff, brittle, or hard to manage. Sensitivity to certain ingredients may also lead to irritation, so patch-testing before full application is smart, especially for sensitive scalps.
Applying masks to roots or using oil-based masks improperly can make hair greasy or block penetration. To fix these challenges, adjust how often masks are used—usually once or twice weekly—ensure thorough rinsing, and balance treatments with regular conditioning. These small tweaks can make a big difference in results.
Customizing Hair Masks for Your Specific Hair Type and Concerns
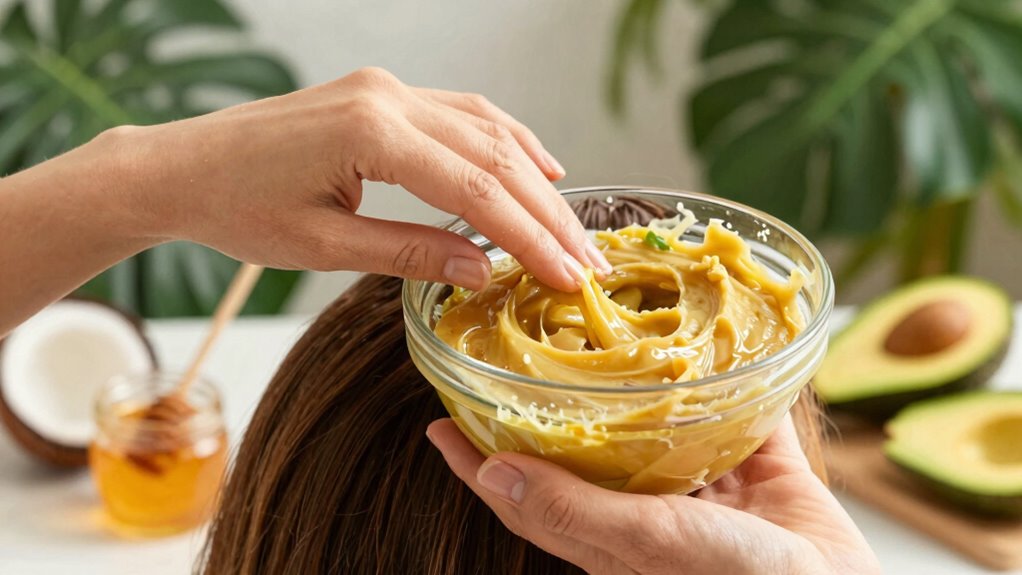
Ever wondered why a one-size-fits-all hair mask doesn’t always deliver the best results? Hair is unique, with different needs based on type and concerns. For dry, dehydrated hair, adding ingredients like avocado can boost moisture and shine. Avocado is rich in healthy fats, helping to repair damaged cells and promote growth, especially when combined with eggs, honey, and coconut oil. This mix provides a nourishing combo of proteins, humectants, and fats that hydrate from roots to ends.
To customize, use more avocado for extra moisture or include additional ingredients like honey for added shine. Applying from ends to roots and leaving it on for 15–20 minutes ensures maximum absorption. Tailoring your mask makes it more effective and suited to your hair’s specific needs.
Incorporating Hair Masks Into Your Regular Hair Care Routine
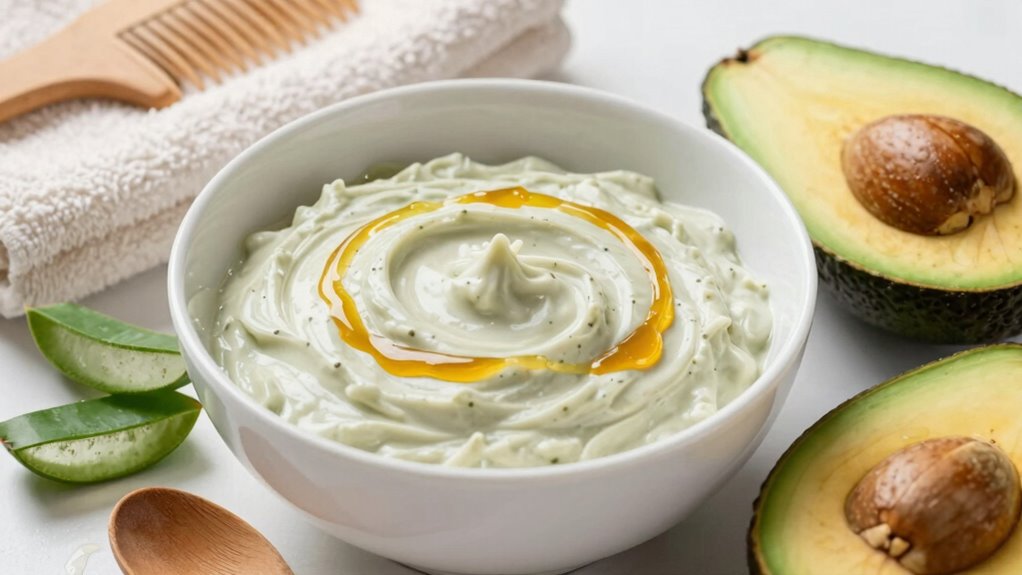
Integrating hair masks into a regular hair care routine can make a noticeable difference in the health and appearance of hair, especially when done thoughtfully. Hair masks work quickly, usually in under 20 minutes, acting as powerful conditioners that soften, hydrate, and add shine. For best results, apply to damp hair, distribute evenly with a wide-tooth comb, and cover with a shower cap.
Ingredients like coconut oil provide deep moisture and antimicrobial benefits, while honey helps retain moisture and restore shine. Avocado adds extra nourishment, supporting heat protection and hydration. Typically, masks are left on for about 20 to 30 minutes. Regular use, perhaps once a week, can transform dull, dry hair into soft, shiny strands, making hair care both effective and enjoyable.