
As an Amazon Associate, this website earns from qualifying purchases.
To make a safe DIY serum for glowing skin, it’s important to choose skin-friendly carrier oils like jojoba or grapeseed that won’t clog pores or cause irritation. Properly measure and mix ingredients in a clean, dark glass bottle, adding only a few drops of active oils such as lavender. Always patch test on a small skin area first and store the serum in a cool, dark place to keep it fresh. For more tips on formulation and safety, continue exploring these steps.
Why Creating a Safe DIY Serum Matters for Glowing Skin
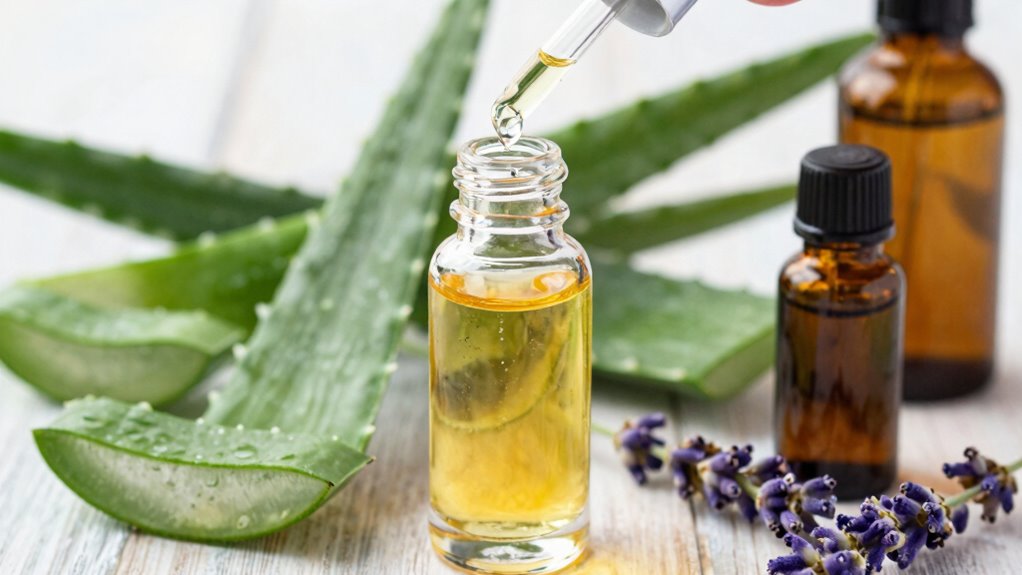
Why does creating a safe DIY serum matter so much when aiming for glowing skin? Using the right carrier oils, like jojoba or grapeseed, ensures nutrients reach the skin without clogging pores or causing irritation. Proper patch testing—placing a small drop behind the ear and waiting 24 hours—helps prevent allergic reactions before applying the serum more broadly.
Protecting the formula with dark glass bottles and storing it in a cool, dark place extends its shelf life, usually around six months, preventing oxidation and maintaining potency. Mindful blending, starting with a carrier oil and adding just a few drops of active ingredients, reduces risks. By following these steps, DIY serums stay safe, effective, and perfect for glowing skin.
Choosing the Right Ingredients for Your Skin Type
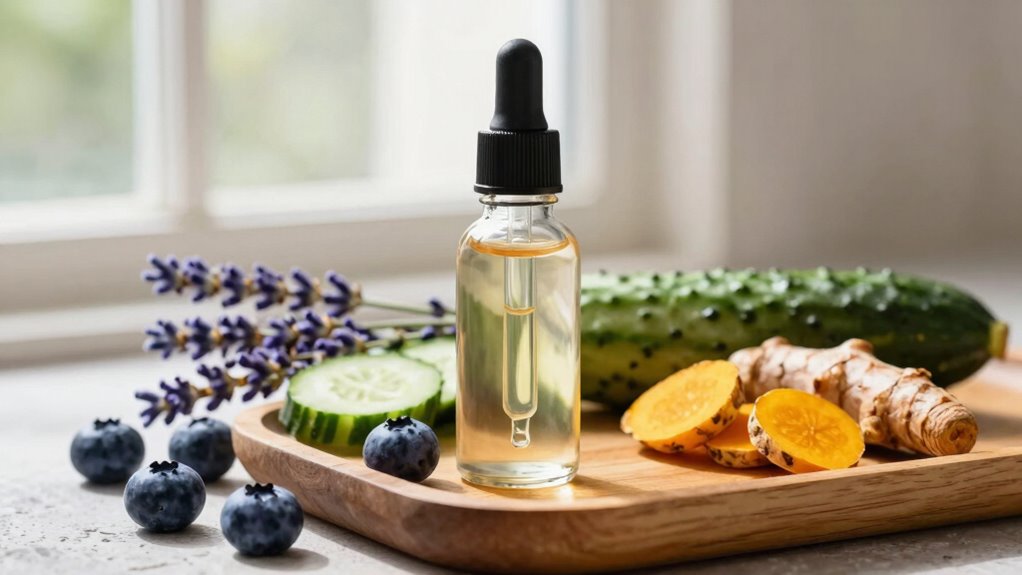
Choosing the right ingredients for a DIY serum is all about paying attention to one’s skin type and its unique needs. Carrier oils play a crucial role, and selecting the appropriate ones depends on whether the skin is oily, dry, or sensitive.
For oily or combination skin, lightweight options like Jojoba or Grapeseed are ideal because they won’t clog pores. Dry skin may benefit from richer oils such as Argan or Sunflower, which provide extra hydration. It’s important to always patch test new oils on a small skin area for 24 hours to check for reactions. This simple step helps prevent irritation and ensures the chosen carrier oils are compatible with individual skin.
Tailoring ingredients this way helps create a safe, effective serum tailored specifically for each skin type.
How to Select Safe and Quality Carrier Oils and Essential Oils
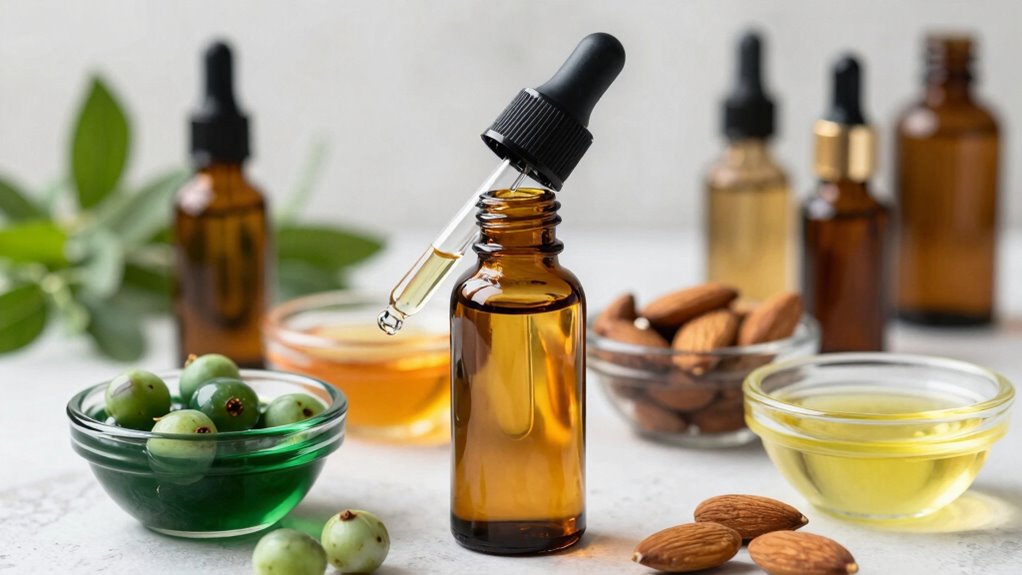
When selecting carrier oils and essential oils for a DIY serum, it’s important to prioritize safety and quality to ensure the best results for the skin. Choosing carrier oils like jojoba, grapeseed, or argan, which are known for their skin compatibility, helps prevent breakouts. It is wise to avoid coconut or flaxseed oils for facial use. Always opt for cold-pressed, organic sources to preserve natural antioxidants and purity.
For essential oils, dilute thoroughly in your carrier oil, keeping within 4–6 drops per 1–2 tablespoons to reduce irritation. Reputable brands that disclose quality reports like GC/MS ensure quality sourcing and safe ingredients. Remember to patch-test new oils behind the ear and start with lower concentrations to keep your skin happy.
Step-by-Step Guide to Making Your Homemade Serum
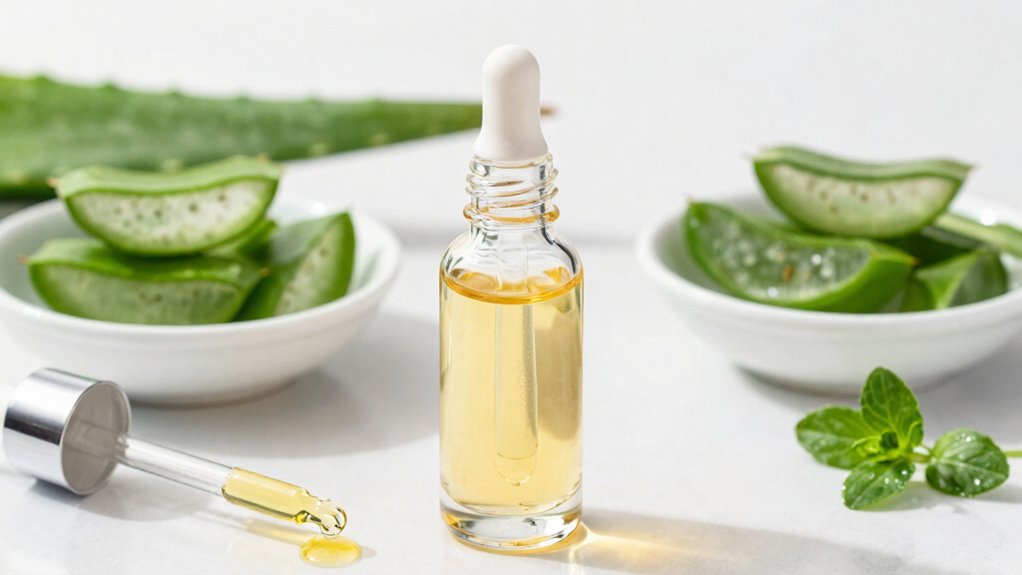
Ever wondered how to create a personalized skincare serum right at home? Making a DIY face serum is simple with a few key steps. First, gather a clean 1-ounce dark glass bottle, carrier oil like jojoba, optional vitamin E, and active ingredients such as hydrating or brightening drops.
Second, combine 2 tablespoons of carrier oil with ¼ teaspoon of vitamin E in the bottle. Add 1 to 3 drops of hydrating and brightening drops, along with 4 to 6 drops of lavender essential oil for a calming scent.
Third, cap the bottle tightly and gently roll between palms for 30 seconds to blend ingredients evenly. Before applying fully, always perform a patch test by placing a drop behind the ear and waiting 24 hours. This ensures the DIY face serum is safe and suitable for your skin.
Tips for Properly Mixing and Preserving Your DIY Serum
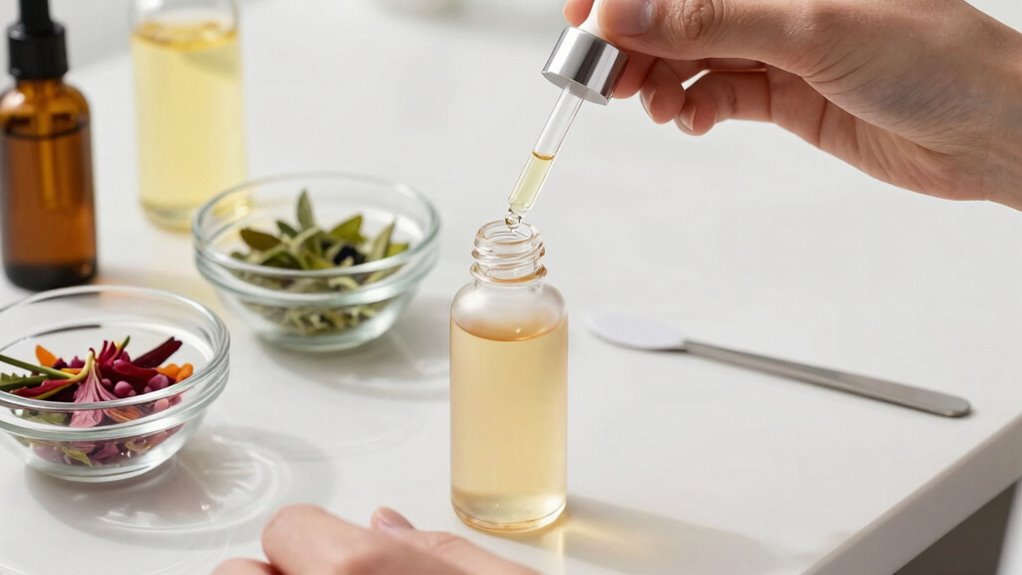
Have you ever wondered how to ensure your homemade serum stays fresh and effective over time? Proper mixing and preservation are key to making the best DIY face serum. Using a clean 1-ounce dark glass bottle with a dropper helps protect the contents from light, which can degrade ingredients. After adding your ingredients, cap the bottle and gently roll between palms for 30 seconds—that’s the secret to even blending without shaking, which can cause separation.
Label the bottle with the date and contents, then store it in a cool, dark place away from sunlight and heat. This simple step helps extend the serum’s shelf life, ideally up to six months. Always use separate tools for each batch to avoid contamination, ensuring your DIY brightening serum stays safe and effective.
How to Perform a Patch Test to Avoid Reactions
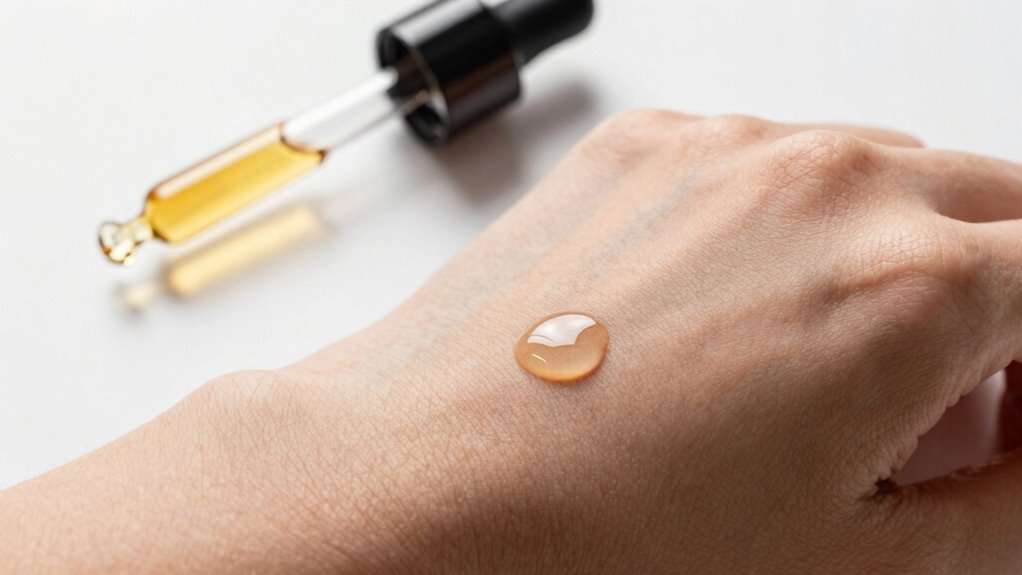
Wondering how to safely try out a new homemade serum without risking an unwanted skin reaction? The key is a simple patch test. First, apply one drop of the serum behind the ear, where the skin is gentle and less visible. Second, wait 24 hours, carefully observing for any redness, itching, or irritation; these are signs of sensitivity.
Third, use clean tools and a fresh area of skin for testing to prevent contamination or false reactions. If any adverse signs appear, stop using the serum immediately and wash the area with mild soap and water. If tolerated, gradually introduce the serum to a small facial area, such as the jawline, over several days before full-face application. This careful process helps keep skin safe and glowing!
Best Practices for Storing Your Serum to Maintain Freshness
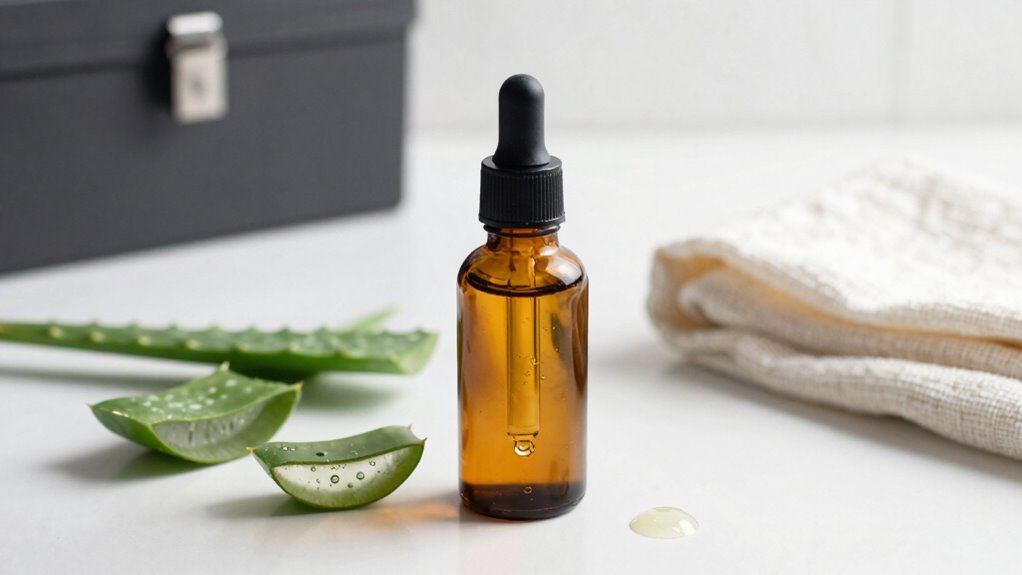
Knowing how to properly store your homemade serum can make all the difference in keeping it fresh and effective for as long as possible. Using a small, dark glass bottle with a dropper helps protect the oils from light, which can degrade their quality. It’s best to keep the serum in a cool, dark place—think closet or cabinet—away from direct sunlight and heat sources.
To maximize shelf life, aim to use your serum within six months and always wash your hands or tools before dispensing. If your serum contains sensitive ingredients like vitamin E or essential oils, refrigeration after opening can slow down deterioration. Here’s a quick visual guide:
| Storage Tip | Reason | Example |
|---|---|---|
| Dark glass bottle | Protects from light | Keeps oils fresh |
| Cool, dark location | Prevents oxidation and heat damage | Closet or cabinet |
| Use within 6 months | Maintains potency | Regularly check dates |
| Clean tools and hands | Avoid contamination | Wash before use |
| Refrigerate if needed | Extends shelf life for sensitive ingredients | Vitamin E or essential oils |
Customizing Your Serum for Specific Skin Concerns
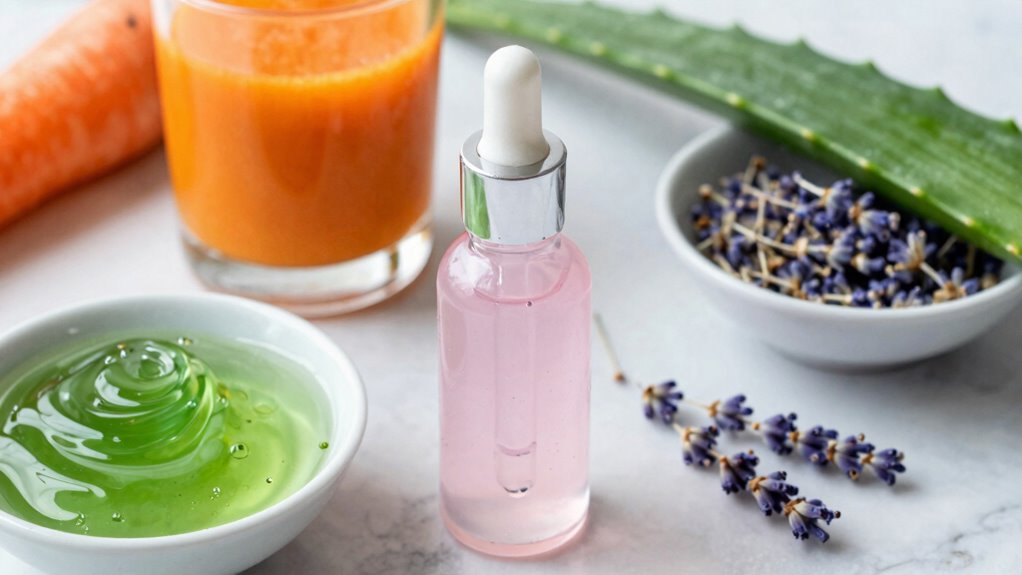
When customizing a serum to suit specific skin concerns, choosing the right combination of carrier oils and active ingredients is key. For example, if skin tends to be oily, lightweight carriers like Jojoba or Grapeseed work well, paired with balancing essential oils such as rosemary or geranium.
For dry or dehydrated skin, richer oils like Sunflower or Jojoba combined with hydrating goodies like hyaluronic acid or glycerin are ideal. Aging skin benefits from nourishing oils like rosehip and argan, supported by essential oils like frankincense or rose to boost elasticity.
Sensitive skin needs gentle carriers like Calendula-infused oil or Sacha Inchi, with minimal or no essential oils. Tailoring your serum this way helps target your unique skin needs effectively.
How to Incorporate Your DIY Serum Into Your Skincare Routine
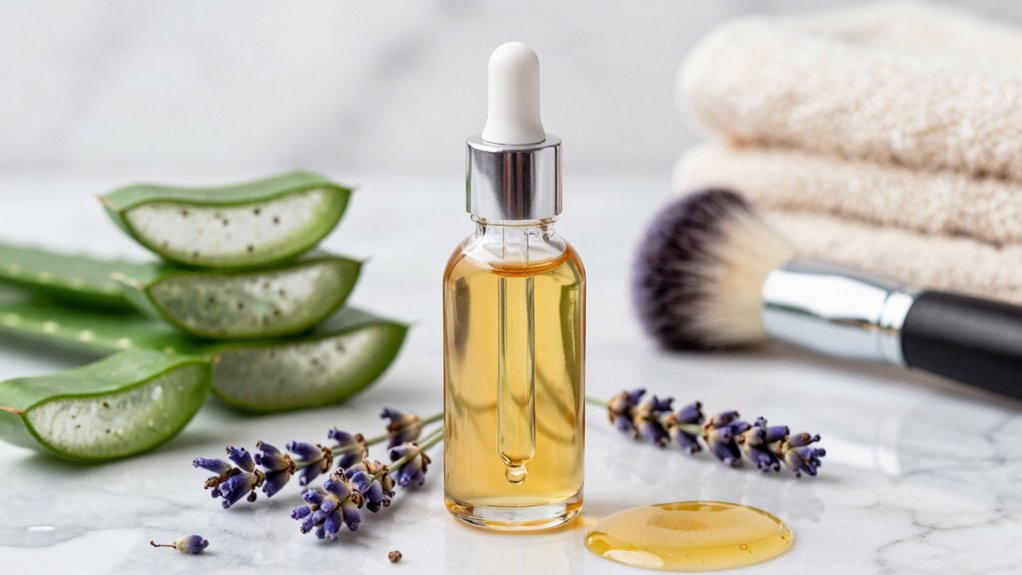
Incorporating a DIY serum into a skincare routine can feel like a small but powerful step toward healthier, glowing skin. To do this effectively, start by applying 3-5 drops of the serum onto freshly cleansed and lightly damp skin, as this helps lock in moisture.
For morning routines, follow the serum with your moisturizer or sunscreen to protect your skin throughout the day.
At night, use the serum as the last step or second to last if applying retinoids, which enhances absorption. Warming the serum between your palms before gently pressing or patting it onto your face and neck improves penetration.
For dry areas, seal the serum with a thicker moisturizer or balm. Always store the serum in a cool, dark place, and use within six months for optimal safety and effectiveness.