
As an Amazon Associate, this website earns from qualifying purchases.
Making a simple DIY sugar scrub at home is easy and fun. Start with ½ cup of coconut oil and ¼ cup of sugar, mixing until smooth. For scents, add a few drops of essential oils or some citrus zest for a fresh twist. Adjust the mixture by adding more coconut oil if it feels dry. Store in an airtight container, and if you want to explore more creative ideas and tips, there’s plenty you’d enjoy discovering next.
What Is a DIY Sugar Scrub and Why Use One?
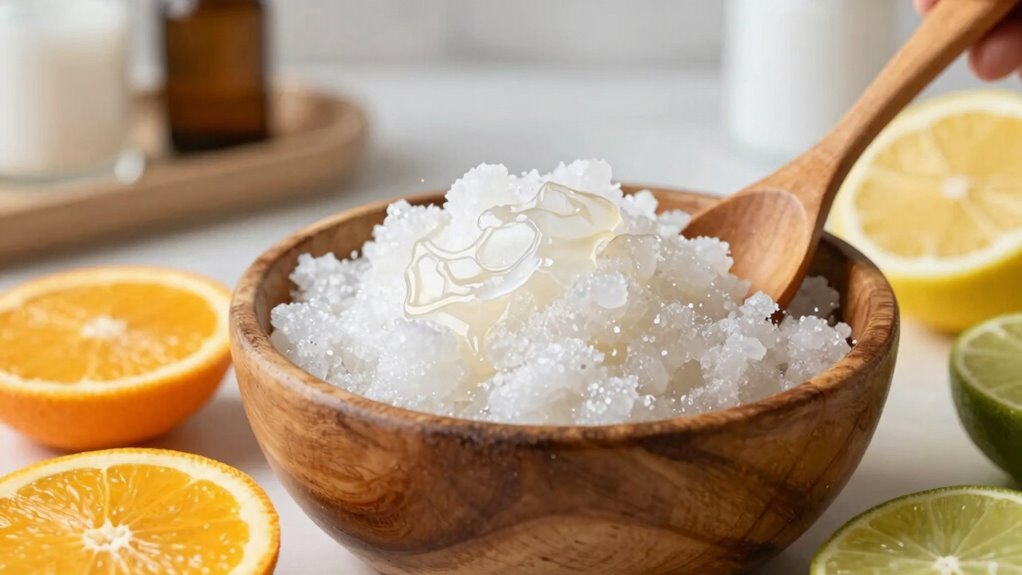
Ever wonder what exactly a DIY sugar scrub is and why so many people swear by it? A sugar scrub is a simple, homemade mixture that combines sugar with a carrier oil to gently exfoliate dead skin cells while providing moisturizing benefits. It’s versatile enough to be used on the body, hands, and feet, but should be avoided on the face unless specially formulated.
Sugar scrubs are gentler and less abrasive than salt scrubs, making them perfect for sensitive skin. They’re quick to make at home and can be customized with essential oils or citrus zest for a fresh scent. Proper storage in an airtight container helps keep the scrub fresh and effective, with a shelf life of up to six months, ensuring continuous benefits of exfoliation and moisturization.
Essential Ingredients and How to Choose Them
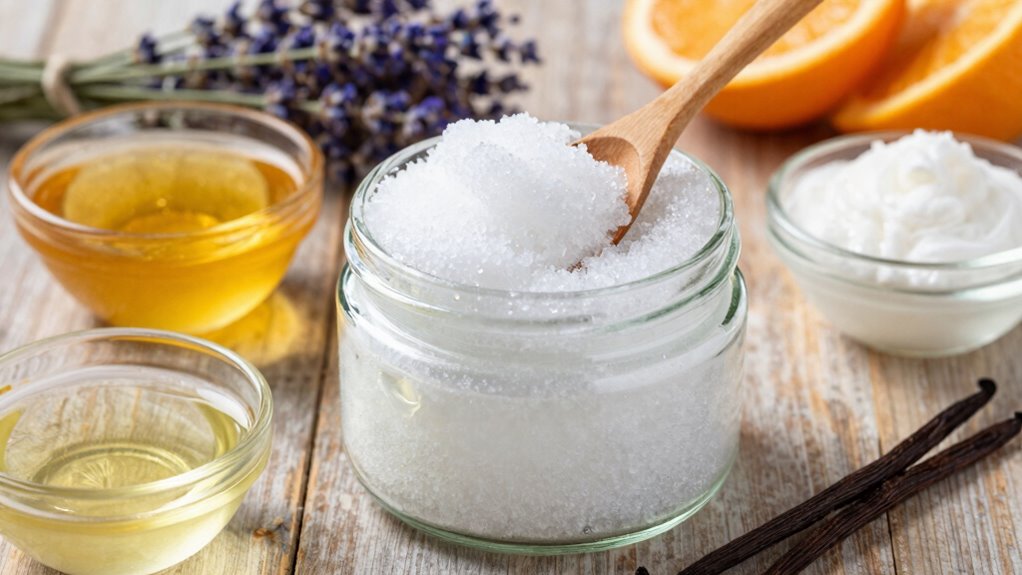
Choosing the right ingredients for a homemade sugar scrub can make all the difference in how effective and enjoyable it is to use. The base usually combines ½ cup coconut oil with ¼ cup sugar, but selecting the sugar type matters. For example, white or cane sugar offers a fine texture, while brown or turbinado sugar provides coarser grains for extra exfoliation and moisture.
Essential oils are added for fragrance—just 10-15 drops can transform the scent. Carrier oils such as coconut, olive, or jojoba are popular, with coconut oil often preferred for its texture and moisturizing qualities. Optional add-ins like vitamin E or citrus zest can enhance shelf life and scent but may affect longevity. Properly selecting these ingredients ensures a balanced, skin-friendly scrub.
Step-by-Step Instructions for Making Your Sugar Scrub at Home
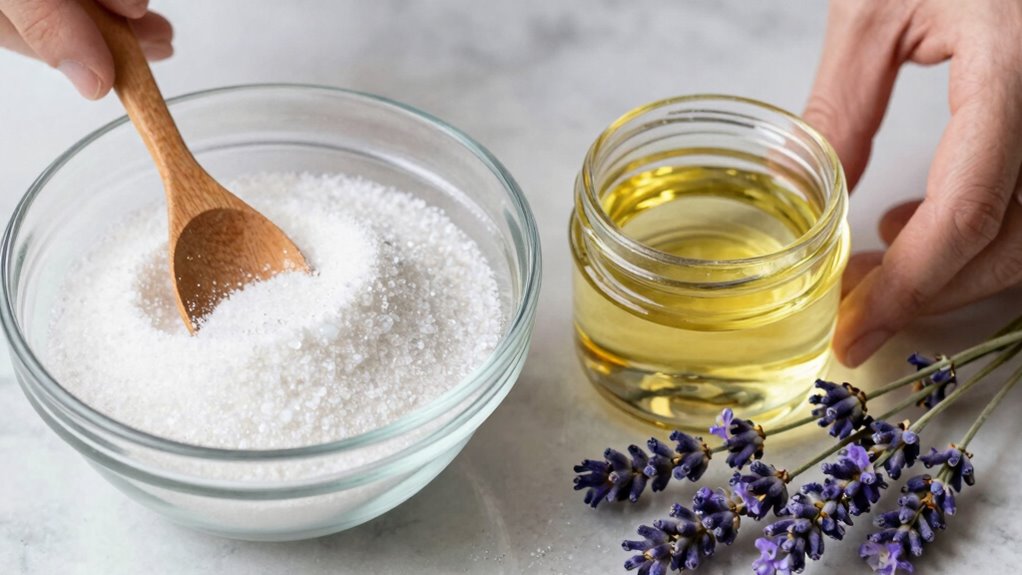
How does one transform simple ingredients into a luxurious, homemade sugar scrub? It starts with combining 1/2 cup of coconut oil and 1/4 cup of sugar in a small glass bowl. Stir until they blend smoothly, creating a base that’s both moisturizing and exfoliating.
Next, add optional citrus zest or essential oils—about two tablespoons of zest or ten drops of oil—to give your scrub a fresh, invigorating scent. If the mixture feels dry, gradually add more coconut oil, a teaspoon at a time, until it holds together nicely.
Once mixed, transfer the scrub to small, airtight glass jars, label them, and store in a cool, dry place. Remember to remix before each use if separation occurs, ensuring a consistent, delightful scrub every time.
How to Customize Your Sugar Scrub With Flavors and Colors
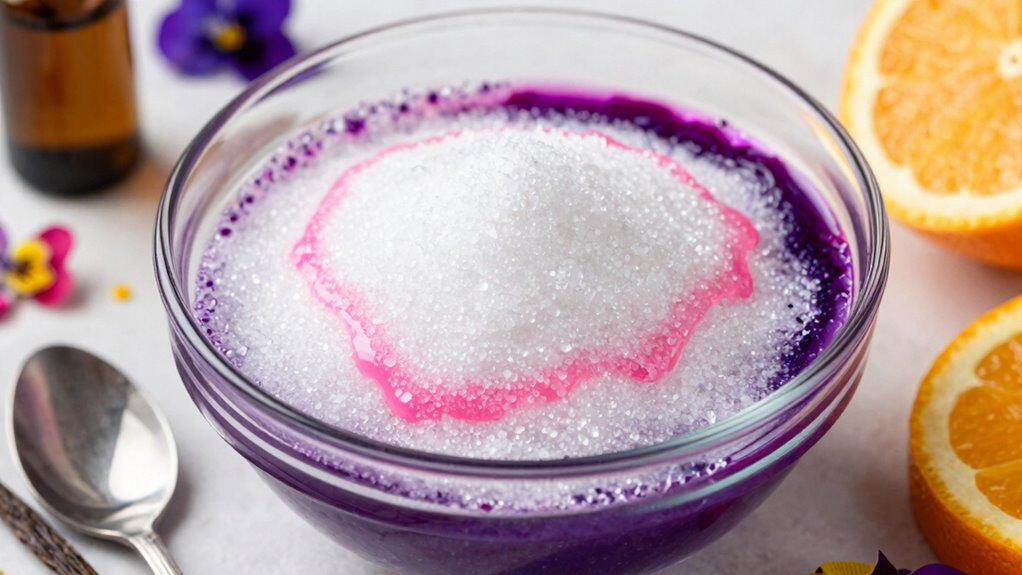
Have you ever wondered how to give your homemade sugar scrub a personalized touch? This is where sugar scrub customization truly shines, allowing you to add flavors and colors that suit your style. To enhance scents, you can incorporate essential oils like lavender, peppermint, or orange, or even extracts such as vanilla or rosewater for a unique aroma.
For vibrant colors, a few drops of food coloring or pink Himalayan salt can create a beautiful hue—just be cautious, as color and colorants might transfer or stain skin if used excessively. A popular combo is coconut oil with lime zest and peppermint, giving a refreshing, minty citrus scent and a subtle color twist. Layered gift jars can feature festive combinations like peppermint and vanilla, with colors adjusted for a fun holiday look.
Tips for Proper Storage and Ensuring Longevity
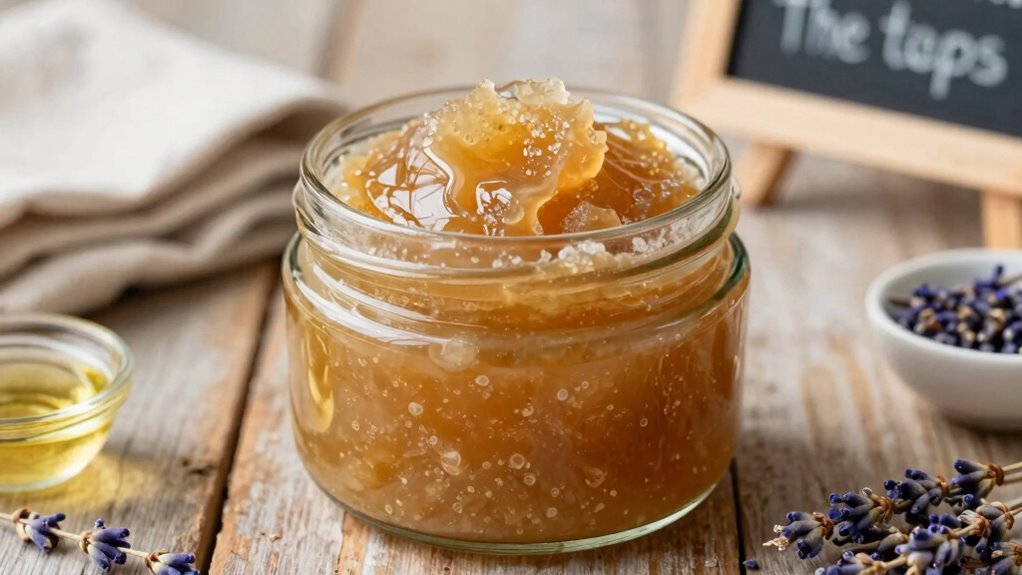
Wondering how to keep your homemade sugar scrub fresh and effective over time? Proper storage is key to maximizing its shelf life and preventing spoilage. Using airtight, clean jars helps keep moisture out, which is essential for moisture prevention and avoiding mold.
While refrigeration is optional, it can help maintain firmness in warm climates. Just remember to let the scrub warm to room temperature before use.
To extend its longevity, avoid double-dipping and always use dry utensils, as introducing moisture can shorten shelf life.
If the scrub separates, simply remix it with a clean spoon or by hand. Typically, homemade sugar scrub lasts up to two months at room temperature; citrus zest may reduce this period, so enjoy it sooner rather than later!
Best Ways to Use Your Homemade Sugar Scrub Safely
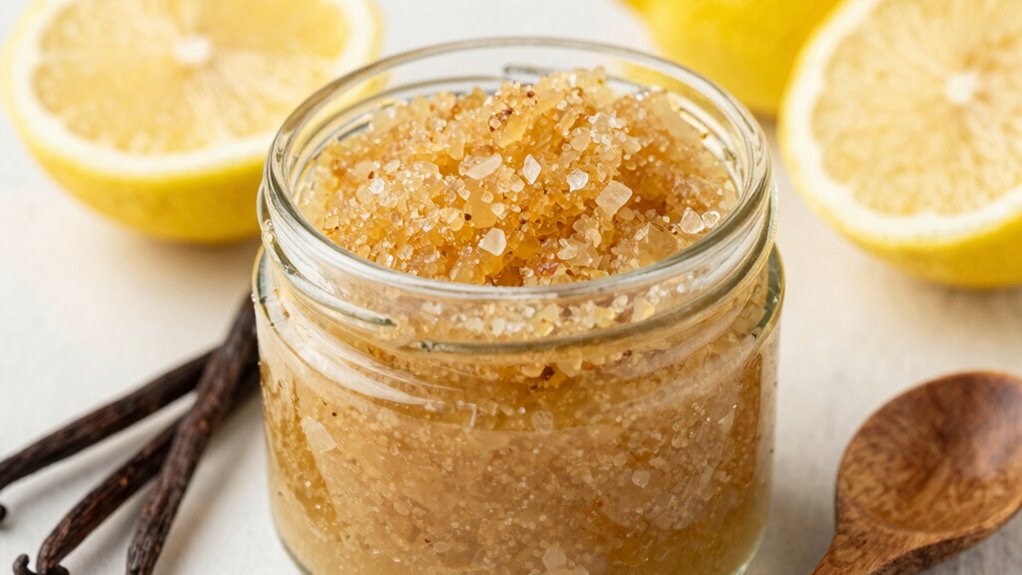
Many people ask about the safest and most effective ways to enjoy the benefits of their homemade sugar scrub. To do so, it’s important to follow some simple safety tips. For example, using a clean wooden spoon helps prevent contamination and mold growth, ensuring the scrub stays fresh. Limiting usage to 2–3 times per week allows the skin to reap benefits without irritation.
When applying, gently massaging in circular motions on damp skin enhances exfoliation and improves circulation. Avoid sensitive areas, broken skin, or sunburned skin for safety. After rinsing thoroughly, moisturizing immediately helps lock in hydration. To maintain safety and effectiveness, remix the scrub if separation occurs and store it in an airtight container away from moisture and sunlight.
These tips help maximize benefits while protecting the skin.
Creative Gift Ideas and Variations to Try Next
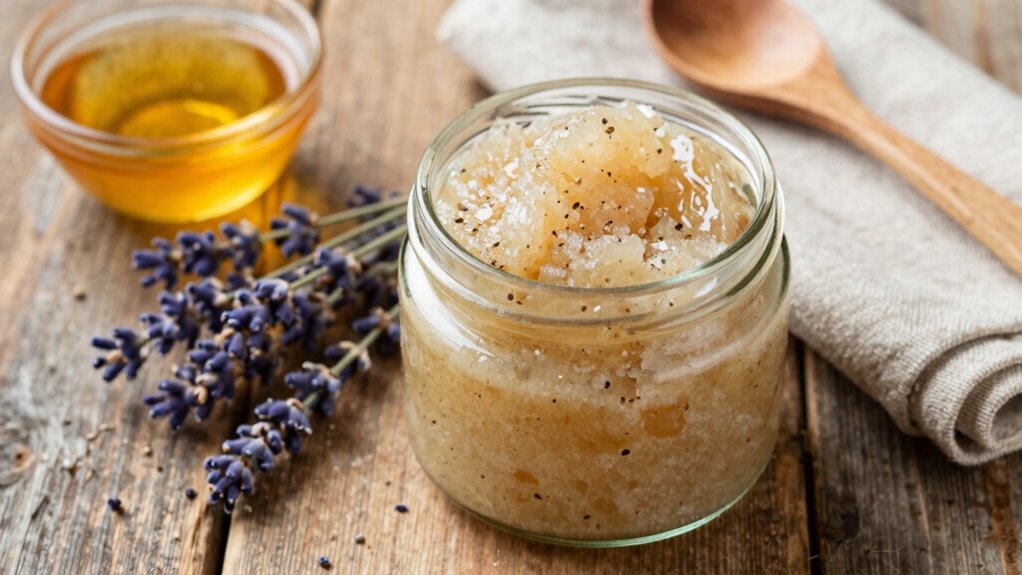
Creative gift ideas can turn a simple homemade sugar scrub into a thoughtful and memorable present. Using festive jars and colorful layers, such as peppermint and vanilla variations, makes DIY gifts visually appealing. Wide-mouth 250 mL Ball jars work perfectly, allowing easy packing of a batch divided into four sets for sharing or storage.
To add variety, swap in different extracts like orange, lemon, or rosewater. Consider adding citrus zest for a bright, fresh scent, but note that zest can shorten shelf life and may need cooler storage. Labels with fragrance titles and dates help recipients track freshness.
| Layered Jars | Flavor Variations | Tips for Citrus Zest |
|---|---|---|
| Peppermint & vanilla | Mint, orange, lemon | Use fresh, but store cool |
| Color-tinted sugar | Rosewater | Shorter shelf life |
| Festive presentation | Custom labels | Add zest sparingly |