
As an Amazon Associate, this website earns from qualifying purchases.
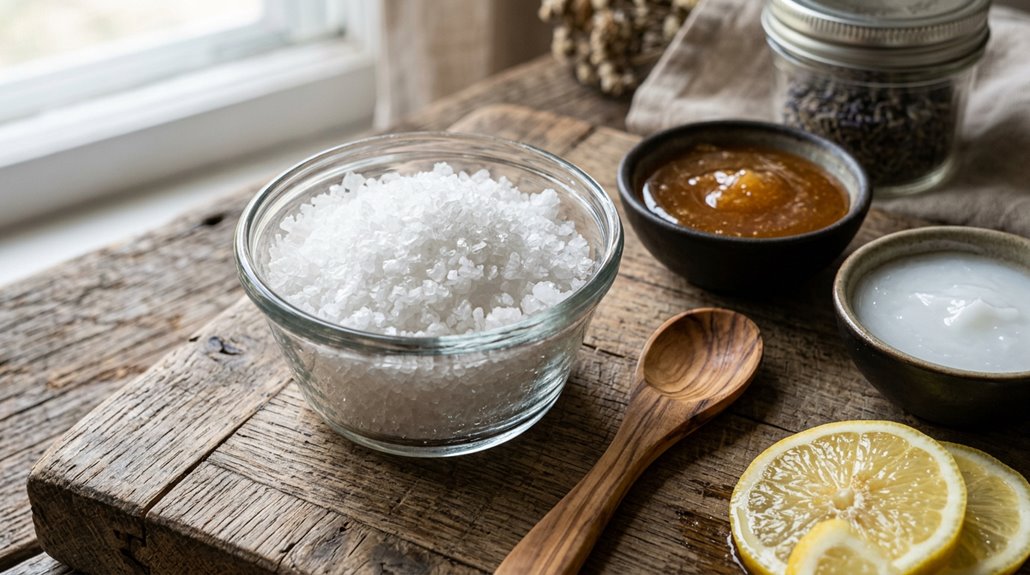
Making a salt scrub at home is simple and rewarding. Mix 2 tablespoons of mineral-rich salts like Himalayan or sea salt with 1 tablespoon of carrier oil, such as jojoba or sweet almond oil, to create a smooth paste. Add a little honey or essential oils for scent and extra nourishment. Store in a sealed container and use a small amount with gentle, circular motions on damp skin. If you’re curious about customizing your glow, discover more tips below.
Why Making a Salt Scrub at Home Can Transform Your Skin
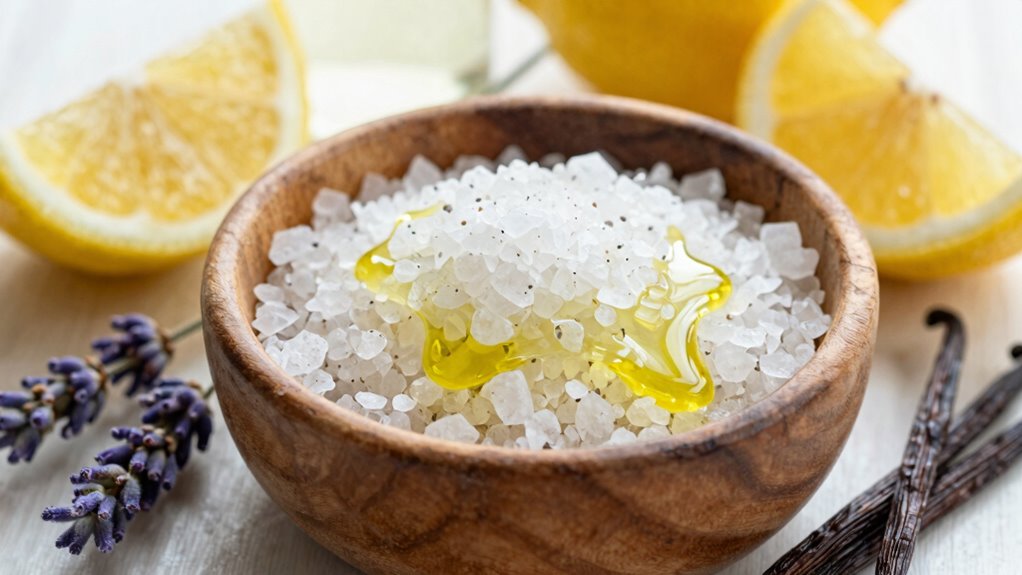
Have you ever wondered how a simple homemade scrub can actually transform your skin? Salt scrubs are powerful tools for exfoliation, helping remove dead skin cells that can leave skin dull. Using mineral-rich salts like Dead Sea, Himalayan, or sea salts enhances this process, supporting better skin texture and hydration. When combined with carrier oils such as jojoba, sweet almond, or olive oil, these scrubs deliver essential moisture while gently smoothing the skin.
Regular exfoliation with salt scrubs not only reveals softer, brighter skin but also improves the absorption of moisturizers applied afterward. Optional add-ins like vitamin E or essential oils can boost antioxidant protection and add a personalized scent. Overall, making a salt scrub at home is a simple way to nourish your skin while achieving a healthy glow.
Choosing the Right Salt and Oils for Your DIY Scrub
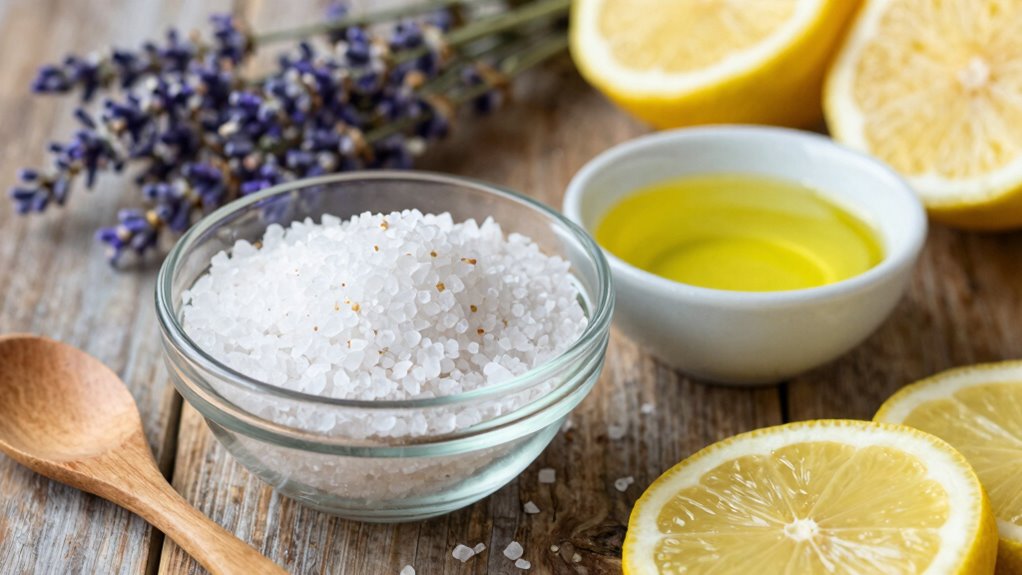
Choosing the right salt and oils is key to creating a homemade scrub that feels indulgent yet effective. For salt scrubs, mineral salts like Himalayan pink salt, sea salt, or Dead Sea salt are excellent choices because they contain beneficial minerals. Dead Sea salt, with larger grains and higher mineral content, offers extra moisturizing benefits, while avoiding iodized table salt, which can be drying and lacks these minerals.
Pairing these salts with carrier oils such as jojoba, sweet almond, or grapeseed helps improve texture and supports the skin barrier. Oils like fractionated or deodorized coconut oil are great for controlling scent and preventing a greasy feel. Adjusting the oil-to-salt ratio ensures a scrub that’s just right—neither too crumbly nor too slick.
Essential Ingredients and Variations for Customizing Your Salt Scrub
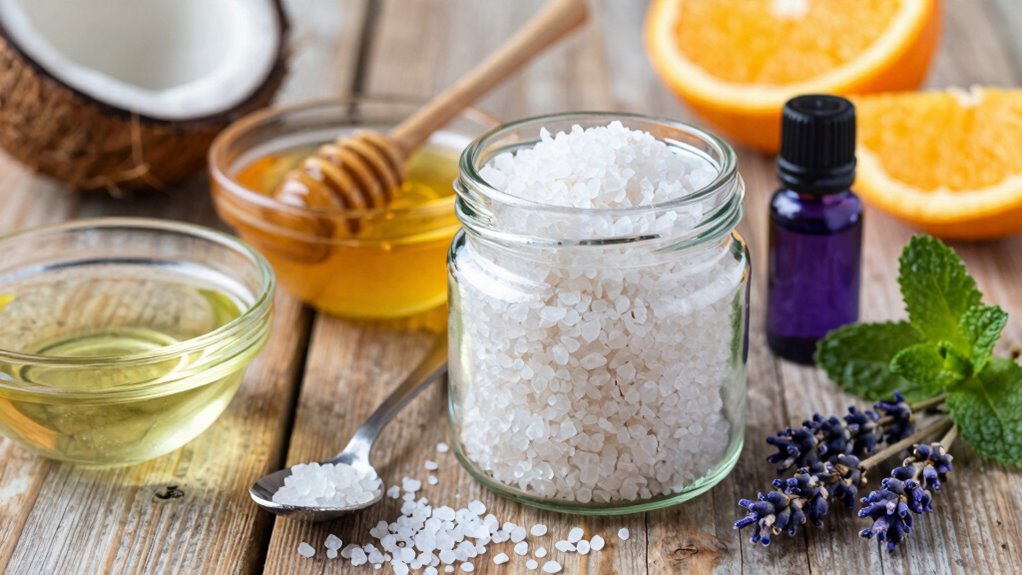
Ever wondered how to make a salt scrub truly personalized? The key lies in choosing the right essential ingredients and variations.
A good salt scrub starts with a carrier oil, such as jojoba, grapeseed, or almond oil, that helps dilute the salt and lock in moisture. These oils influence the texture and how well the scrub hydrates the skin, from lightweight jojoba to richer coconut or avocado oil.
Adding Vitamin E oil provides extra skin benefits, acting as an antioxidant and conditioner.
For a pleasant aroma, essential oils like lavender, peppermint, or citrus can be mixed in. Just be sure they’re properly diluted to avoid irritation.
Experimenting with different salts, oils, and scents allows each person to craft a unique, nourishing salt scrub suited to their skin’s needs.
Step-by-Step Guide to Mixing and Storing Your Salt Glow
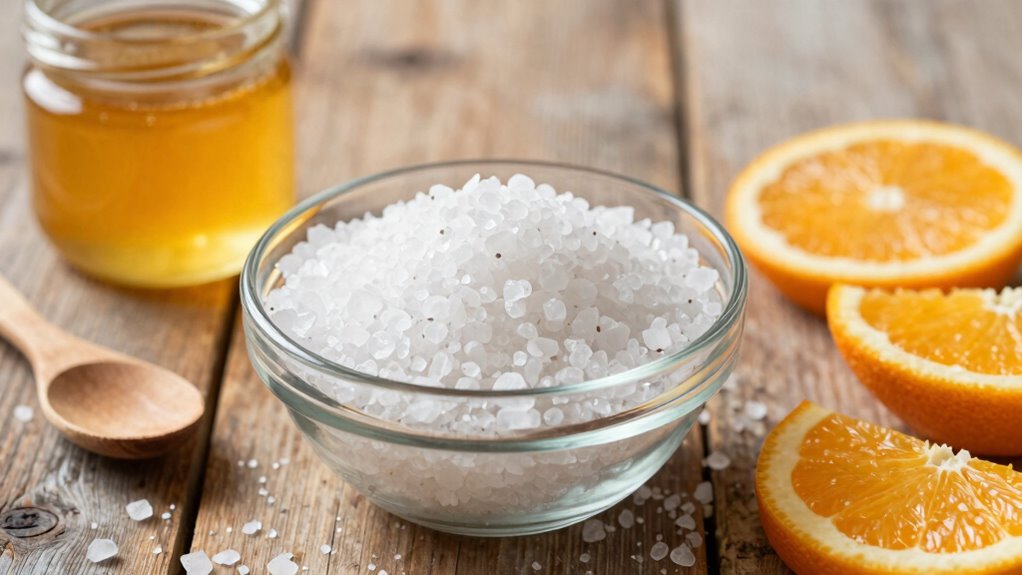
Creating a homemade salt glow is a straightforward process that rewards patience and a little attention to detail. To start, gather 2 tablespoons plus 1 teaspoon of unrefined sea salt, 1 tablespoon of raw honey, and 1 tablespoon of oil—olive, avocado, or sweet almond.
Mix these ingredients in a small bowl using a fork until the scrub is evenly combined. Once ready, transfer the mixture into a clean container with a tight-fitting lid for effective storage. Proper storage is key to maintaining the scrub’s freshness and effectiveness; keep it in a cool, dry place and avoid moisture. This helps preserve the salt’s exfoliating qualities and the nourishing oils.
When needed, simply scoop out a small amount for use, ensuring hygiene and longevity of your homemade sea salt scrub.
How to Properly Use Your Homemade Salt Scrub for Best Results
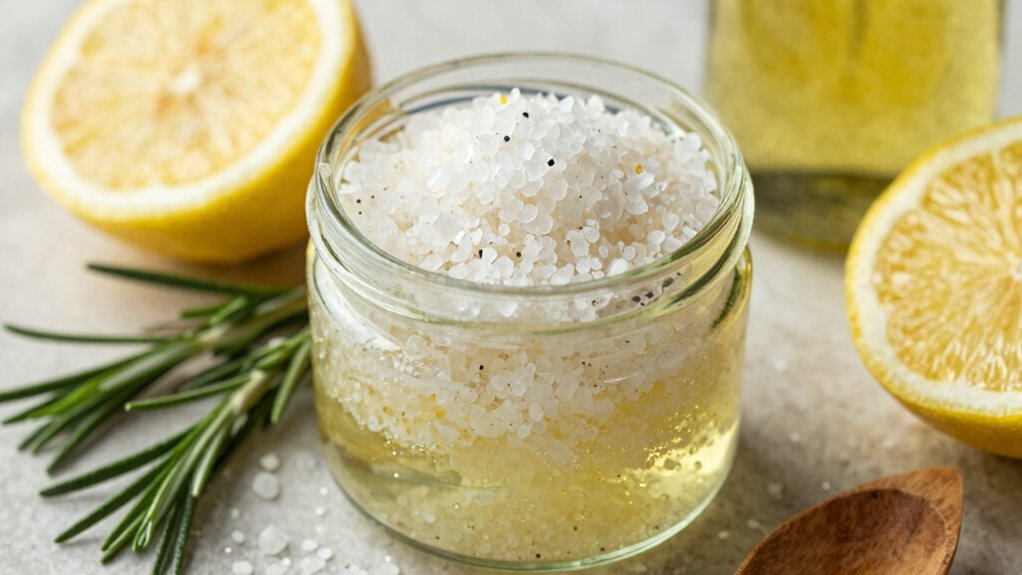
Have you ever wondered how to get the most out of your homemade salt scrub? Proper application techniques are key to achieving smooth, glowing skin.
Start by splashing your face with warm water to open pores and reduce friction. Using a clean spoon, scoop a small amount of the scrub; this helps maintain hygiene and extends shelf life.
When applying, massage gently in upward and outward circular motions for 60–90 seconds. This exfoliation technique boosts skin renewal without causing irritation.
Rinse thoroughly with warm water, then follow with a hydrating moisturizer or skin repair serum to lock in moisture and support skin hydration.
For extra nourishment, you can leave the scrub on as a nourishing mask for 10–15 minutes.
Consistent use 2–3 times weekly yields the best results.
Tips for Troubleshooting Common Issues and Enhancing Your Scrub
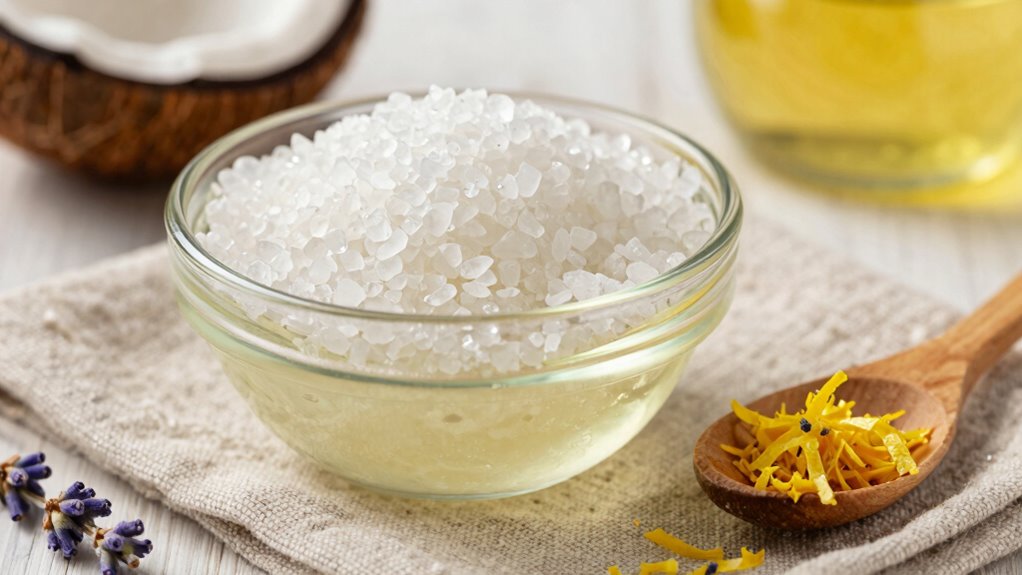
Sometimes, even the best homemade salt scrubs can run into a few hiccups, but luckily, most issues are easy to fix with a little tweaking. For DIY salt scrub troubleshooting, adjusting the consistency is key. If the scrub feels too crumbly, adding more carrier oil or a touch of honey helps improve cohesion without losing exfoliating power.
On the other hand, if it becomes too runny, mixing in extra salt or sugar restores the ideal texture. To prevent patchy exfoliation, ensure the salt or sugar granules are thoroughly stirred before each use for even distribution. Proper storage in an airtight container kept away from moisture can extend the scrub’s shelf life up to three months. These simple adjustments make it easy to keep your scrub fresh, effective, and enjoyable to use.
Benefits of Regular Exfoliation With a Natural Salt Glow
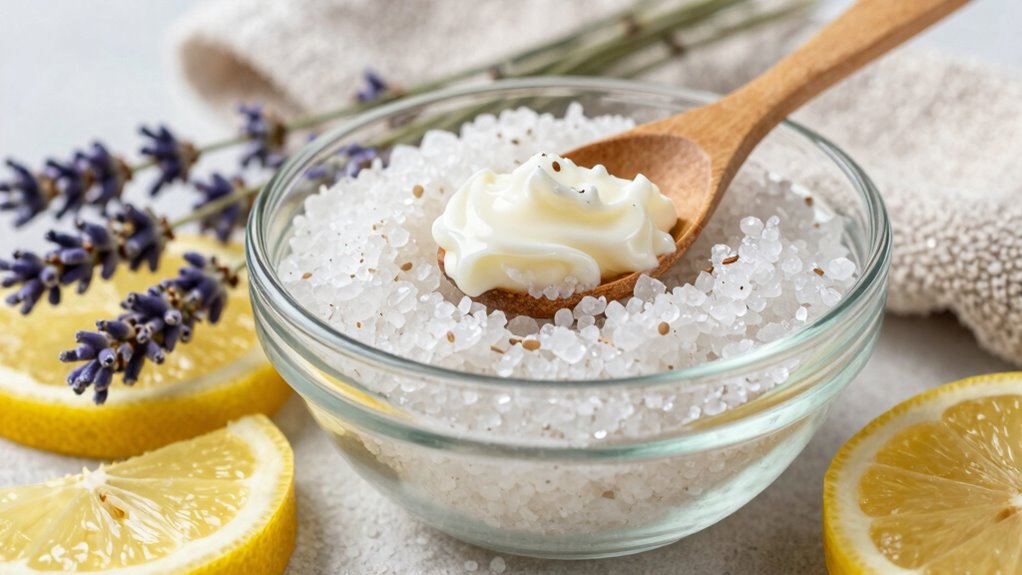
What makes regular exfoliation with a natural salt glow so beneficial for the skin? It gently removes the top layer of dead skin cells, revealing fresher, healthier-looking skin underneath. This process not only brightens the complexion but also helps the skin absorb moisturizers more effectively, making skincare products work better. Over time, regular exfoliation can encourage collagen production, which improves skin elasticity and reduces signs of aging.
A natural salt glow exfoliates and hydrates at the same time, leaving skin feeling smooth and moisturized. Additionally, incorporating this routine can help prevent clogged pores and breakouts, especially when compared to untreated skin. Overall, regular exfoliation with a natural salt glow supports a radiant, more resilient complexion.